Short answer
Yes for most woven seams, where short backstitch crosses cleanly, and on zipper tape kept 6 mm from the teeth. The teeth themselves and any stretchy knit seam are where stitching breaks.
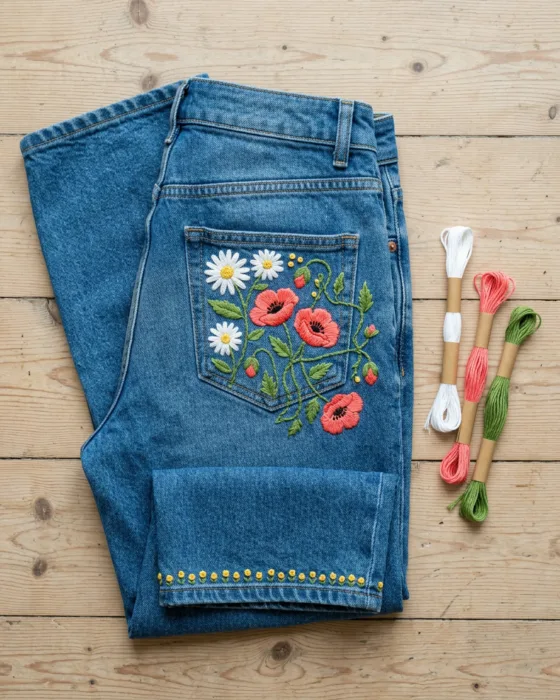
The usual advice is to keep hand embroidery clear of every seam and zipper on a garment. For seams, that rule is too cautious. A needle goes through a plain seam with a little extra push, and a vine of flowers can run straight across one. Zippers are another matter. The teeth stop a needle cold, and stitches placed too close to them jam the slider, the small pull that runs up and down.
So the honest answer depends on how the seam is built and how the garment moves. A side seam on a cotton shirt is easy. The doubled seam up the leg of a pair of jeans is hard work. A seam on stretchy knit fabric is where a crossed design tends to fail.
Why a seam is harder to stitch through
Count the layers. A flat patch of shirt fabric is one layer. At a plain seam, two pieces of fabric are sewn face to face, and the leftover edges, called the seam allowance, fold to one side inside the garment. Right beside the seam, on the side those edges fold toward, the needle passes through three layers. On the other side it meets one.
Jeans are thicker again. Their leg seams are usually flat-felled, which means the raw edges are folded into each other and sewn down with two rows of machine stitching. That builds four layers of denim into a strip about 1 cm (3/8 inch) wide. An embroidery needle can get through it. Expect to need a thimble, and sometimes a rubber jar-opener grip to pull the needle out.
Thickness is only half of it. Every layer the thread passes through is a layer it pulls on. Stitches that cross a seam tighten against a hard ridge, and the fabric on either side puckers if your tension is even slightly too firm.
Stitches that cross a seam cleanly
Short stitches win here. Keep every stitch that lands on or next to the seam about 3 mm long (just over 1/8 inch). A short stitch has little thread to pull tight, so the ridge stays flat.
Backstitch is the safest choice for lines. Bring the needle up one stitch length ahead of the last stitch, then go back down into the end of the previous one. Each stitch shares a hole with the one before, so the line bends over the ridge without gaps. Use a size 7 embroidery needle and 2 strands of six-strand floss. That floss comes as six thin threads twisted together, and you pull two of them apart to stitch with.
 Save
SaveRunning stitch works too. Come up, travel 3 mm, go down, skip 2 mm, and repeat. It leaves less thread on the back, which matters inside a garment. Stem stitch makes a rope-like line that hides small wobbles as it climbs the ridge. Each new stitch is 4 mm long and comes up halfway along the last one, always on the same side of it.
Small separate shapes can sit right on the seam line. A lazy daisy petal is a single loop. Come up, go back down in the same hole, and leave a loop 5 mm long on the front. Bring the needle up inside the tip of the loop and take one tiny stitch over it to pin it down. French knots behave well there too. Wrap the thread twice around the needle, go down 1 mm from where you came up, and hold the wraps snug as you pull through.
Where seam stitching fails
Stretch seams break first. On a T-shirt or a sweatshirt, the fabric is a knit, made of looped yarn that gives when pulled. Embroidery thread has no give at all. Run a line of stitches across a knit side seam, and the first time the garment stretches, the thread snaps or gathers the fabric into ripples. Keep designs on knits to one side of the seam.
Never run satin stitch across any seam. Satin stitch fills a shape with straight stitches laid side by side, each one spanning the full width. Laid over a ridge, a shape 12 mm wide makes stitches that pull tight over the bump and gap apart on either side of it. Seed stitch handles a filled shape on a seam better. It is tiny 2 mm straight stitches scattered in different directions, and none of them spans the ridge.
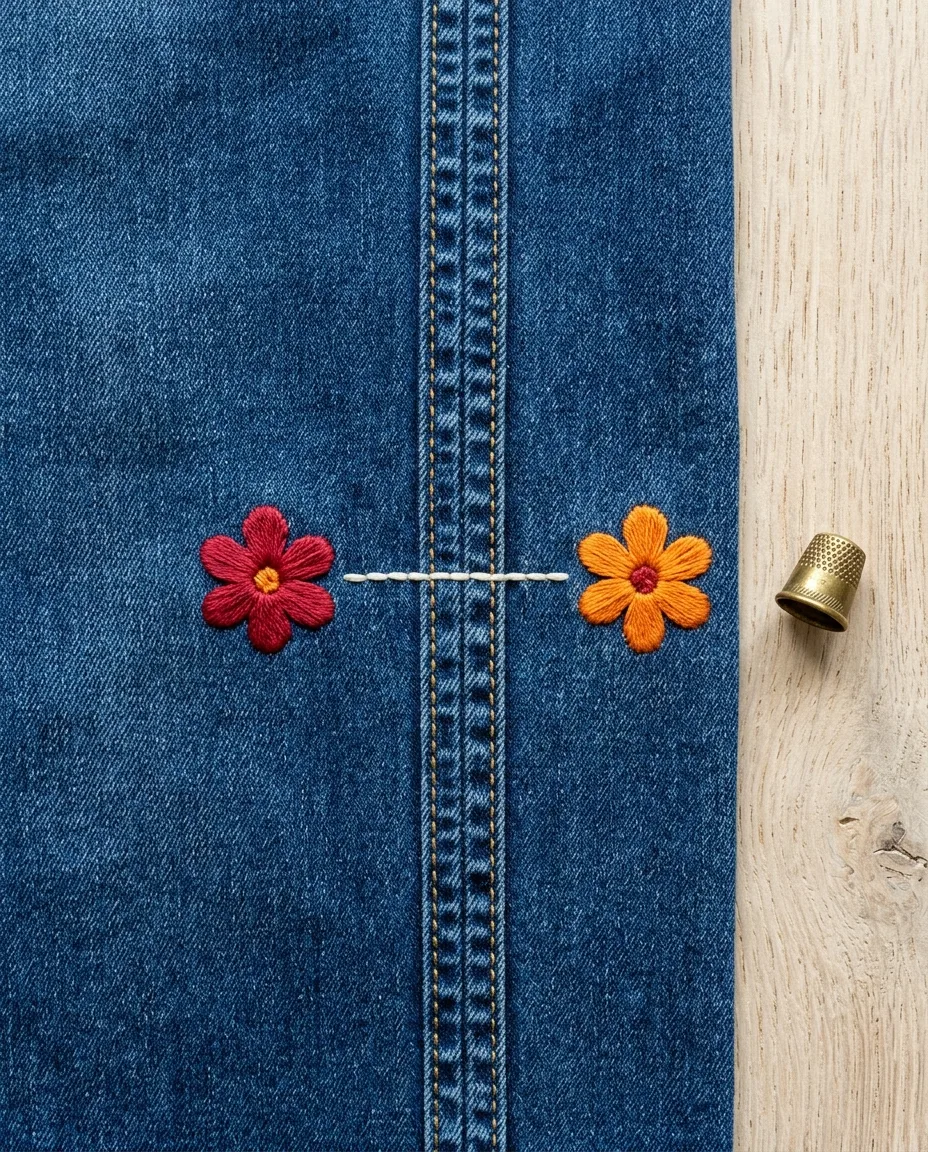
Flat-felled denim seams fail in a slower way. Dense stitching across all four layers makes the seam stiff. A stiff seam at the knee cracks the stitches as it bends, and the damage builds with every wear. Cross a felled seam with one line of backstitch and put any filled shapes on the flat denim to either side.
 Save
SaveAnd check the inside before you start. Many seam allowances are finished with serging, a looping machine stitch that wraps the raw edge to stop fraying. Where a stitch lands right on that edge, the needle can split the loops and drag them loose. Shift that one stitch 2 mm to miss it.
Stitch the zipper tape and leave the teeth alone
No needle goes through zipper teeth. Metal teeth bend or snap the needle. Plastic teeth and nylon coils are hard enough to push it sideways, and a thread wedged between two teeth stops them locking together.
6 mm (1/4 inch) is the minimum gap between any stitch and the teeth. The tape is the woven strip the teeth are fixed to, usually polyester and about 1 to 1.5 cm wide on each side. It takes a needle as easily as cotton does. The slider is wider than the teeth, though, and anything closer than 6 mm gets scraped by it on every pull.
 Save
SaveTape suits small, flat work. A row of French knots spaced 5 mm apart, or a running-stitch line in a contrast color, reads well against it. Skip anything with loose loops, like long lazy daisies. The slider tab catches loops every time the zipper opens.
Concealed zippers are the exception. On a dress or skirt, the tape sits inside and the fabric rolls over it from both sides. You can’t reach it from the outside at all, so stitch on the fabric beside the seam.
A design that crosses a closed zipper
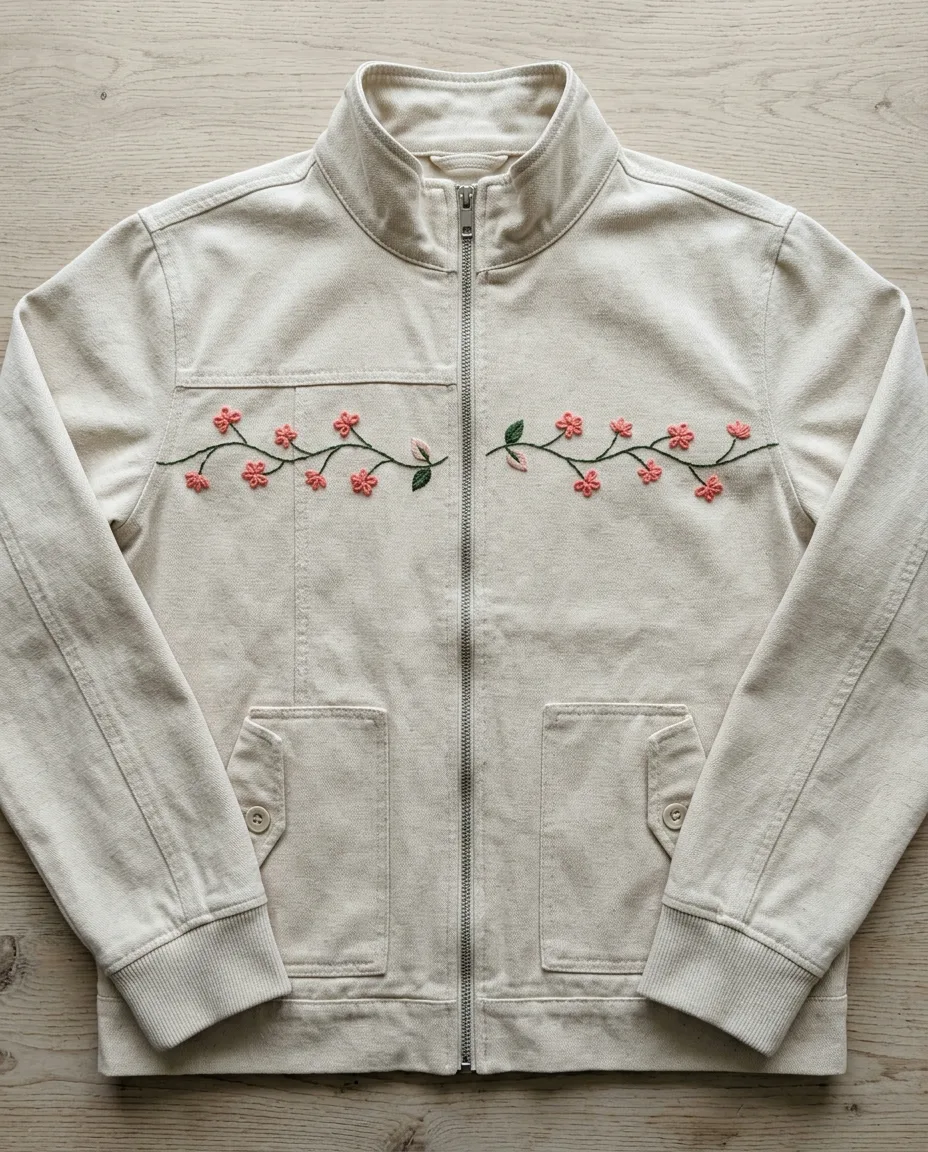
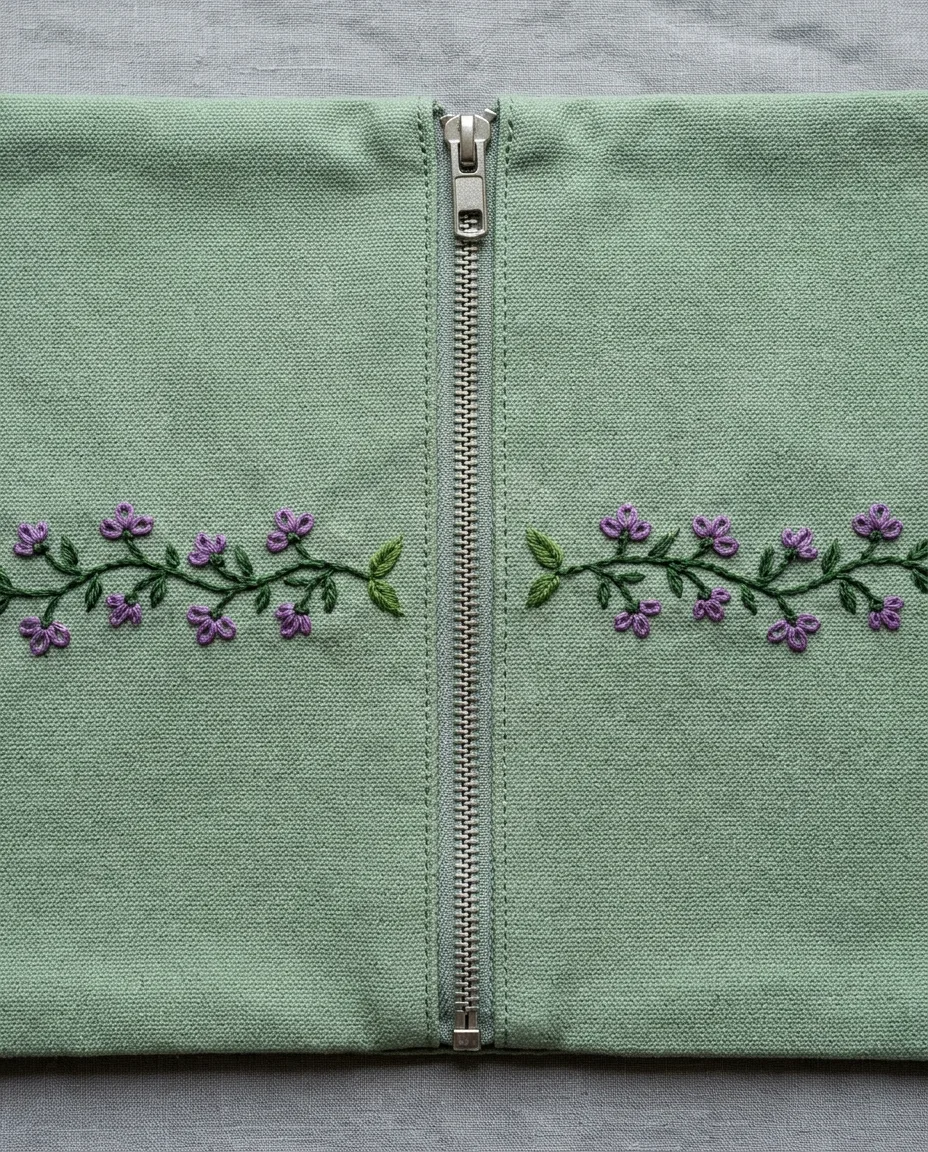
Any vine running across a jacket front has to break at the zipper. The trick is to stitch it in two halves that line up when the zipper is closed.
- Close the zipper and lay the garment flat.
- Draw the whole design across both sides with a water-soluble marking pen, which rinses out with plain water.
- Mark a small tick on each side where a line meets the zipper tape.
- Open the zipper and stitch each half on its own, ending every line 6 mm short of the teeth.
- Close the zipper before the last few stitches of each line, and check that the ends still meet.
Expect a gap of about 1.5 cm across the zipper once both margins and the teeth are counted. A thin single line looks broken over a gap that size. Let a leaf or a flower sit on each side where the line stops, and the eye joins the halves for you.
 Save
SaveHooping next to a seam or zipper
Hoops close on flat fabric. Clamp one over a felled seam or a zipper and the inner ring won’t seat, so the fabric slips loose within minutes.
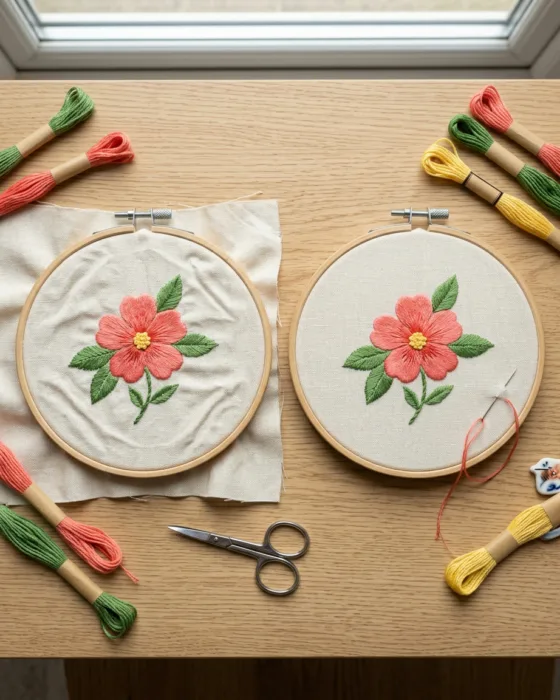
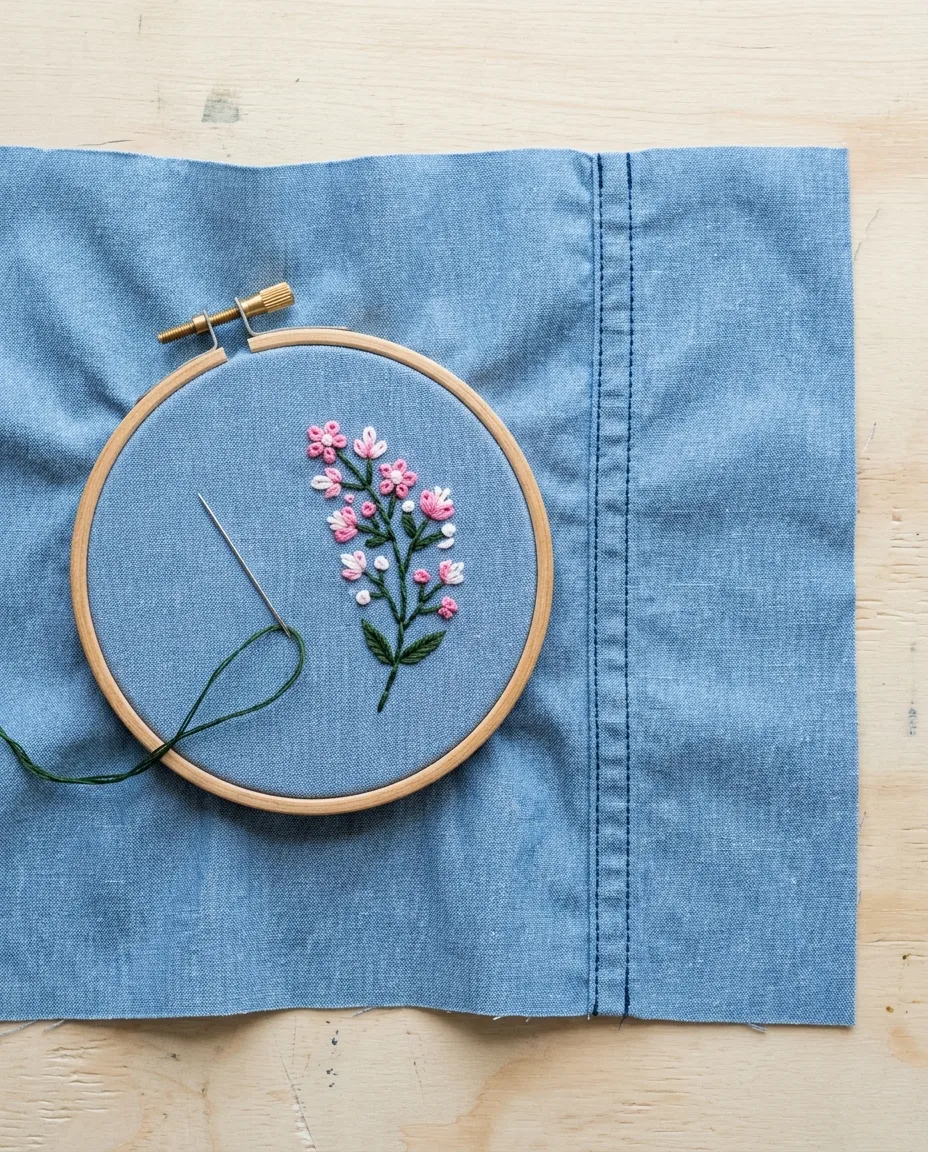
Place a small hoop off to one side. A 4 inch hoop can hold the flat fabric beside a seam while the seam itself sits just outside the ring. Stitch that side, then move the hoop across to the other.
 Save
SaveOr put the hoop down for the stitches on the seam itself. Short backstitches over a thick ridge are easier in the hand. Fold the fabric slightly over a finger and push the needle through at an angle, with a thimble on the middle finger of the pushing hand. For zippers, work with the zipper open. Each half then lies flat, and a 5 inch hoop fits on the garment fabric next to the tape.
Protecting the back inside the garment
The back of the work sits against skin, and next to a zipper it sits in the slider’s path. Long floats cause most of the trouble. A float is a length of thread carried across the back from one stitch to the next. Anything longer than about 1.5 cm catches on fingers and zipper pulls.
End the thread after each section. Weave the tail under four stitches on the back, then trim it to 3 mm. Knots near a seam rub against skin from the inside.
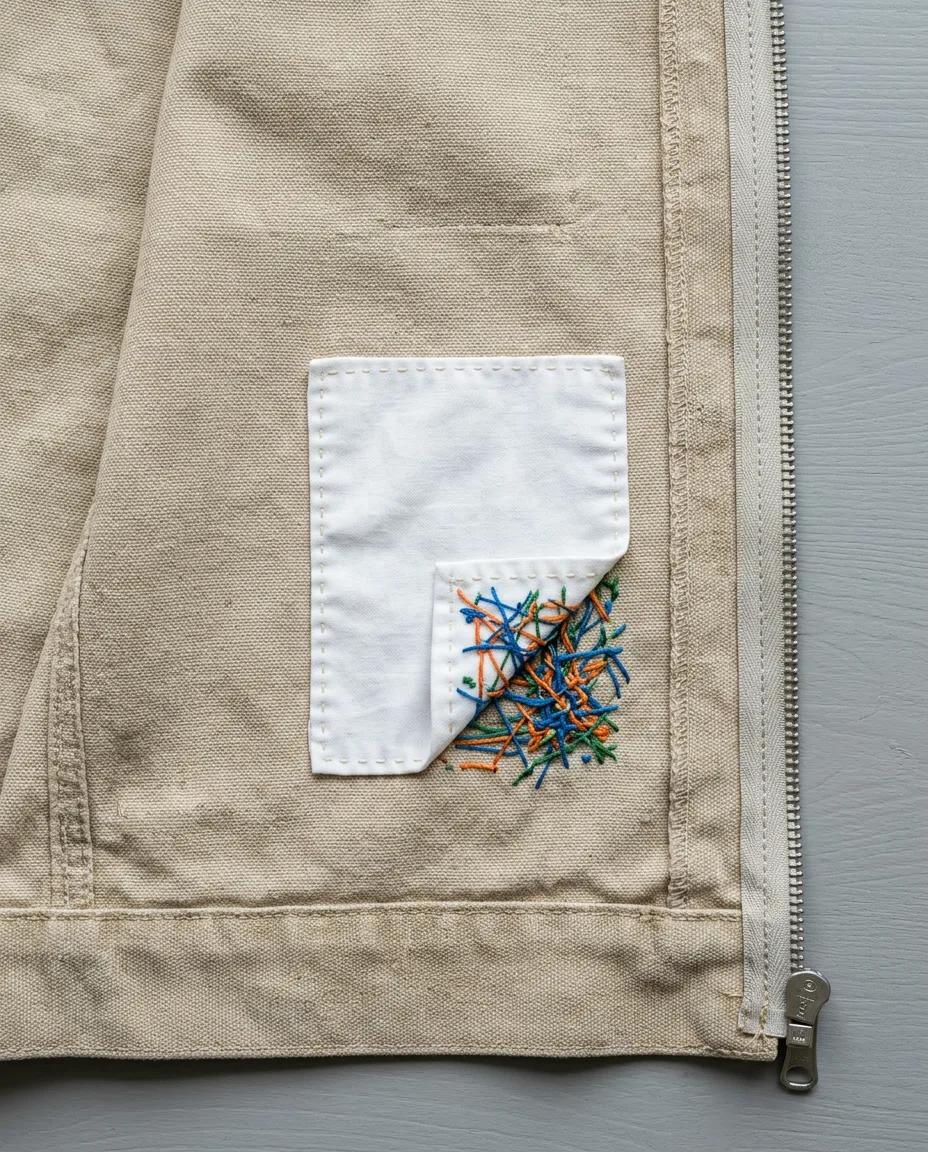
Finish with a backing patch. Cut lightweight cotton 1 cm bigger than the design all round and fold its edges under. Sew it over the back with slip stitch. The needle runs 3 mm inside the fold, comes out, and catches one thread of the garment before sliding back in. Near a zipper, keep the patch 6 mm off the teeth like the embroidery.
Iron-on interfacing is the faster option on woven cotton. It is a thin fabric with glue on one side that bonds under a warm iron. Keep the iron away from the zipper. A nylon coil can soften and warp under the heat, and a warped coil stops the slider for good.
 Save
SaveWorks and breaks at a glance
| Where | What works | What breaks |
|---|---|---|
| Plain seam on woven cotton | Backstitch or French knots crossing it | Satin stitch fills over the ridge |
| Flat-felled jeans seam | One line of backstitch across it | Dense fills that stiffen the seam |
| Knit side seam | Designs kept to one side | Any line crossing it |
| Zipper tape | Small flat stitches 6 mm from the teeth | Loops, or stitches closer than 6 mm |
| Zipper teeth | Nothing | Every stitch |
| Concealed zipper | Fabric beside the seam | The tape, which sits out of reach |
But test before you commit to the good jacket. Stitch a 3 cm line across the same kind of seam on an old garment, then wash it once. A seam that puckers after one wash will pucker on the real thing, so drop to 2 strands or shorter stitches before you start.