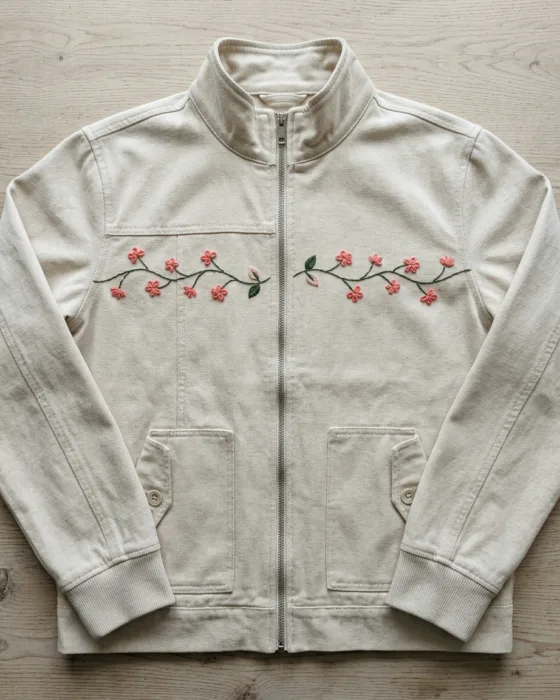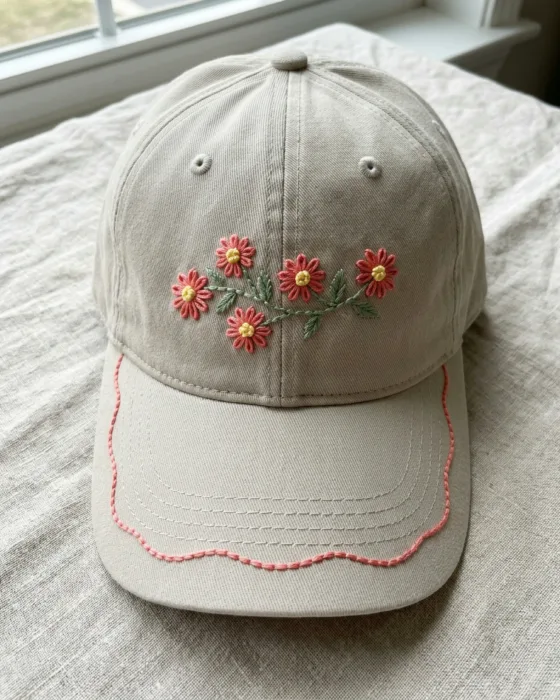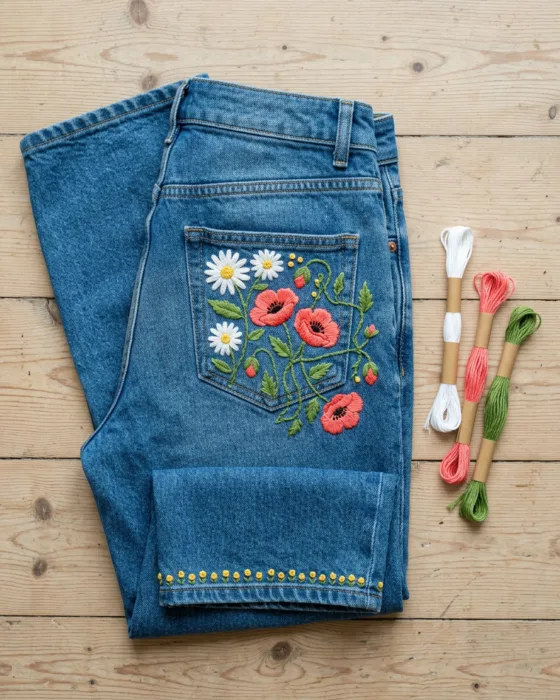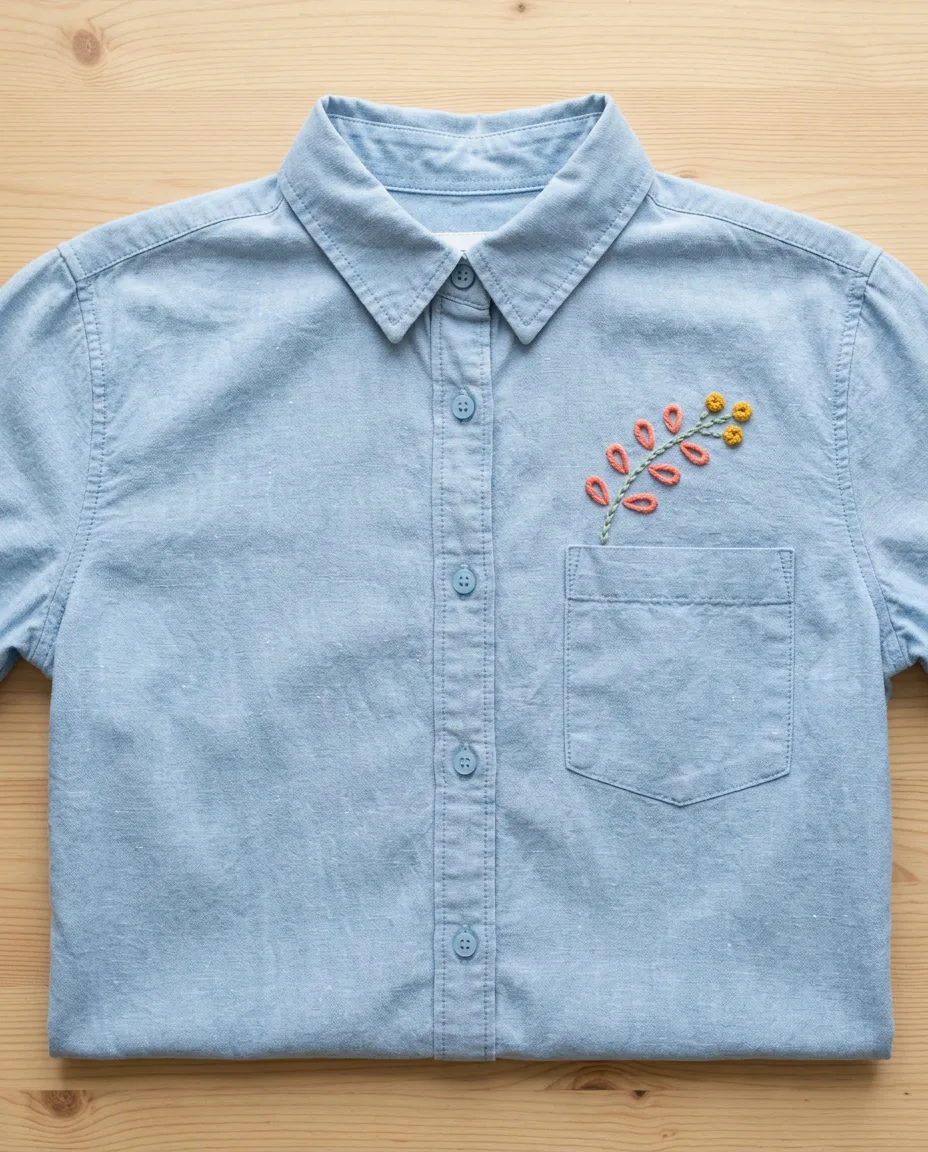
You want a small design on a shirt or a jacket, and you have never done any embroidery. That is a perfectly good place to start. Clothes are often a friendlier first project than a framed piece, because a slightly uneven stem on a pocket just looks handmade. What matters is picking a garment that behaves and learning one stitch properly before adding more.
This guide walks through one small project: a sprig about 2 inches tall on a plain cotton shirt. It uses three stitches. Backstitch draws the stem. Lazy daisy makes the leaves, and French knots add a few dots at the tip.
Plan on about 90 minutes for a first try. Most of that goes into the stem.
Stitch a small sprig on a shirt
Six-strand floss is a thick thread made of six thin threads twisted loosely together. You pull them apart and use only two or three at a time. Two strands give a fine line. Three give a bolder one, which shows up better on denim.
- Wash and dry the shirt before you stitch. Cotton can shrink a little in its first wash, and stitches added before that shrinkage will pucker the fabric around them.
- Draw the design on the front with the water-soluble pen. Make a stem about 2 inches long that curves gently to one side. Add five small leaf shapes along the top half, each about 1/4 inch long, then three dots at the tip.
- Loosen the hoop screw and separate the rings. Slip the inner ring inside the shirt, under the drawing. Press the outer ring down over it from the front, so the shirt fabric is caught between the two. Tighten the screw until the fabric is smooth and firm, like a drum.
- Check the back of the hoop. Only one layer of shirt should be inside it. If the back of the shirt is caught too, you will sew the shirt closed.
- Cut an 18 inch (45 cm) length of green floss. Pull out 2 strands, thread them through the needle and tie a small knot at the far end.
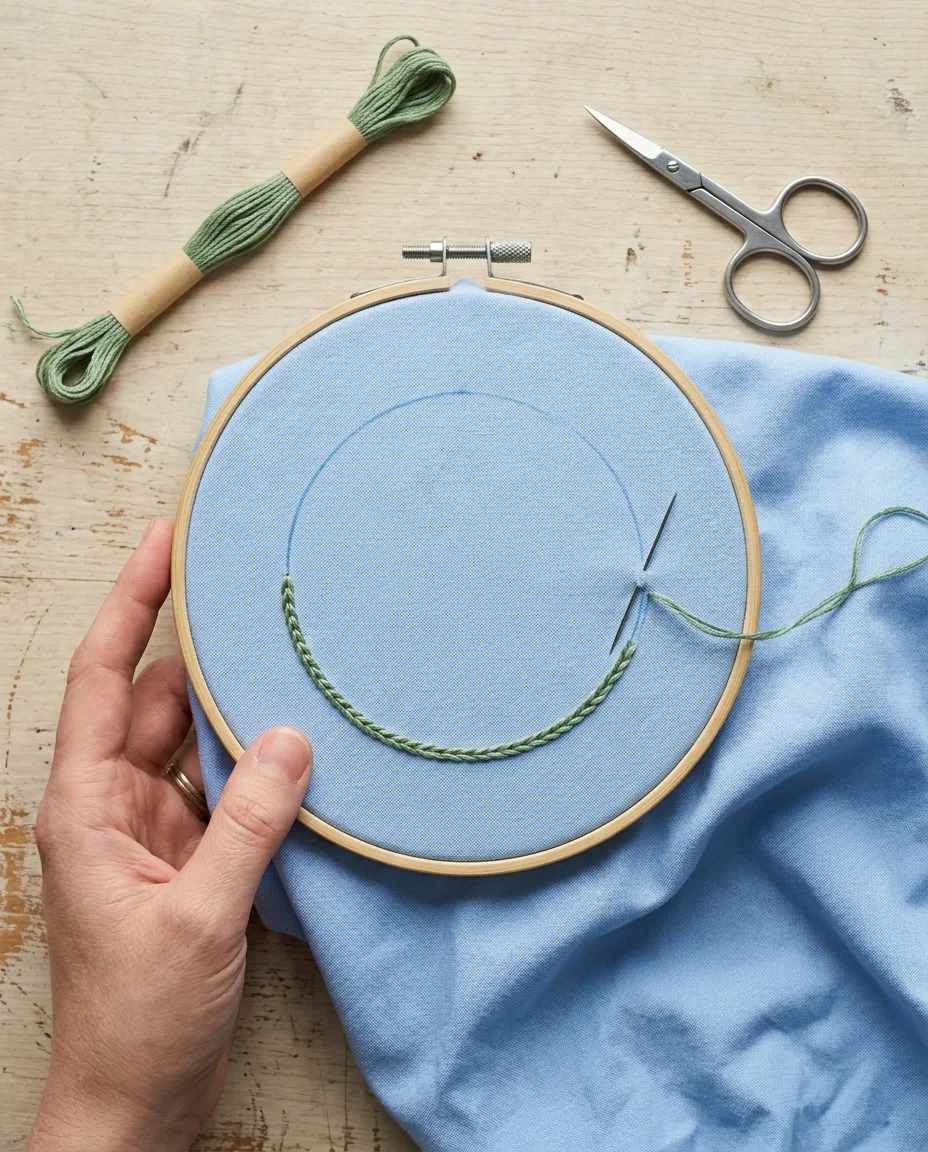
- Work the stem in backstitch. Come up through the fabric about 3 mm (just over 1/8 inch) along the line from the bottom. Go back down at the very bottom. Come up again 3 mm ahead of that first stitch, then go down into the hole where the first stitch ended. Repeat to the top.
 Save
The hoop clamped around the shirt itself, with the green backstitch stem half done along the pen line. - Stitch the leaves in lazy daisy with 2 strands of coral. Come up at the base of a leaf. Go back down into the same hole, but leave a loop of thread on top. Bring the needle up at the tip of the leaf, inside that loop. Pull until the loop lies flat, then go down just past it to tack it in place.
- Add the dots with French knots, using 3 strands of mustard. Come up at a dot. Wrap the thread twice around the needle, then push the point back down about 1 mm from where it came out. Keep the wraps snug with your other thumb as you pull through.
- Finish each color on the back. Slide the needle under 3 or 4 stitches, pull through and trim the tail to about 1/4 inch.
- Take the shirt out of the hoop. Dab the pen lines with cold water until they disappear, and let the fabric dry flat.
- Iron the soft interfacing onto the back of the stitching, glue side down, with a thin cloth between the iron and the fabric. It covers the thread ends so they don’t scratch.
French knots are the one step that trips most people up. If a knot keeps vanishing through to the back, the French knot guide explains why and how to stop it.
Woven cotton beats stretchy knits for a first try
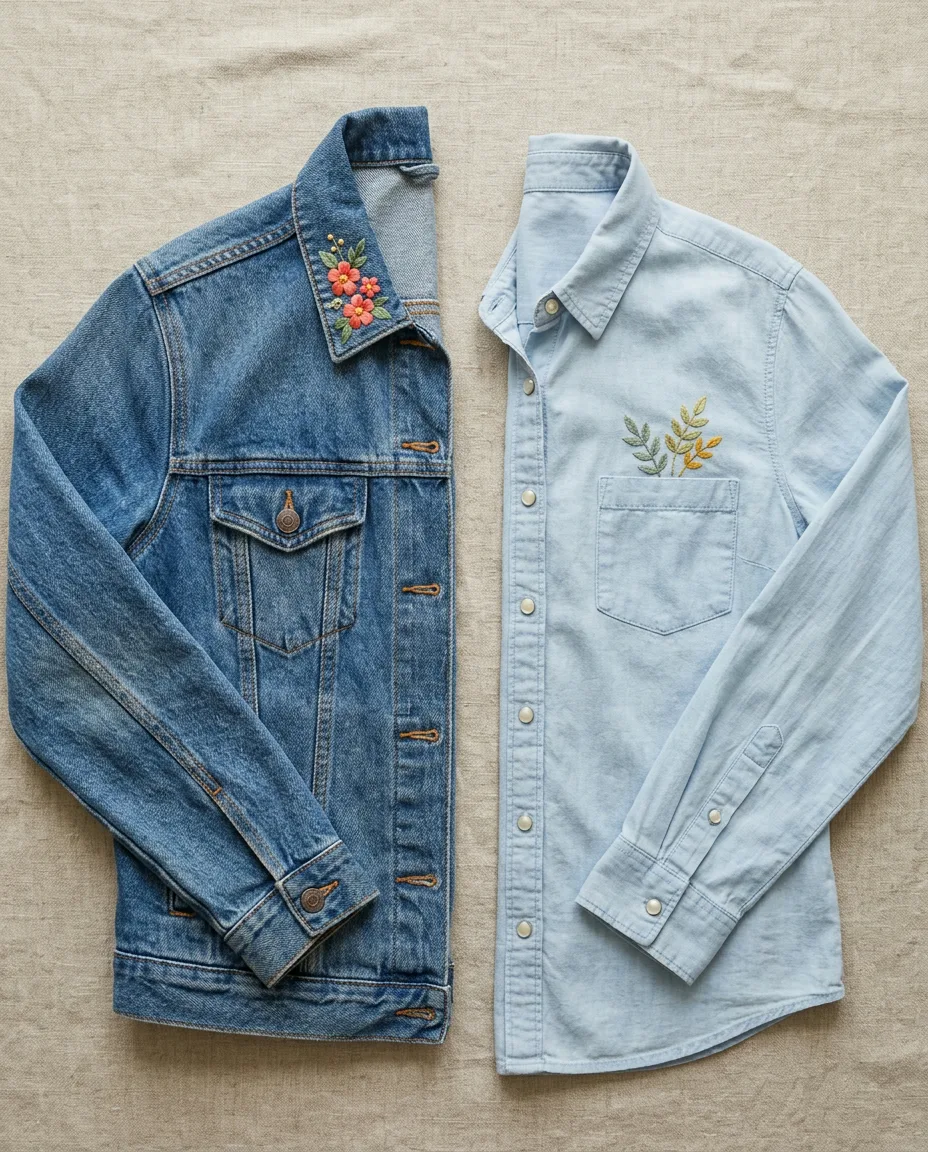
Woven cotton is the easiest fabric to stitch on. A chambray shirt holds steady in a hoop. So does a denim jacket. You can see the weave, too, which helps you keep stitches the same length.
But stretchy knits are harder. A T-shirt pulls out of shape the moment you hoop it, and the stitches pucker once it relaxes again. They can be done with a backing, covered below. For a very first project, leave them for later.
No spot beats a flat one for a first try, so placement matters as much as fabric. A chest pocket or a collar point is a good first spot, because it is flat and easy to hoop. The back yoke of a denim jacket is a good second one. It gives you a wide, flat panel for a bigger design, around 4 inches across. Stay away from seams and thick hems, where the needle has to fight through several layers at once. Denim has quirks of its own, and the guide to embroidering jeans goes through them one by one.
 Save
Backstitch comes first
One stitch carries most clothing designs. Backstitch draws stems and outlines. Get it even and the whole design looks tidy, even when the leaves come out a little lopsided.
Stitch length is what makes it look neat. Keep every stitch about 3 mm long. Longer stitches catch on buttons and bag straps when you wear the shirt. Shorter ones take twice as long and look beaded rather than smooth. Around curves, drop to about 2 mm, or the line turns into a row of flat segments. A pencil dot every 3 mm along the drawn line helps for the first few inches. After that, most hands keep the rhythm without it.
Tension is the second habit. Pull each stitch flat, then stop. Harder pulls leave ripples that never press out.
Once backstitch feels steady, the other two come quickly. A lazy daisy is just a loop pinned down at one end. French knots take the most practice, so try five on a scrap before you put any on the shirt.
When the shirt is a T-shirt
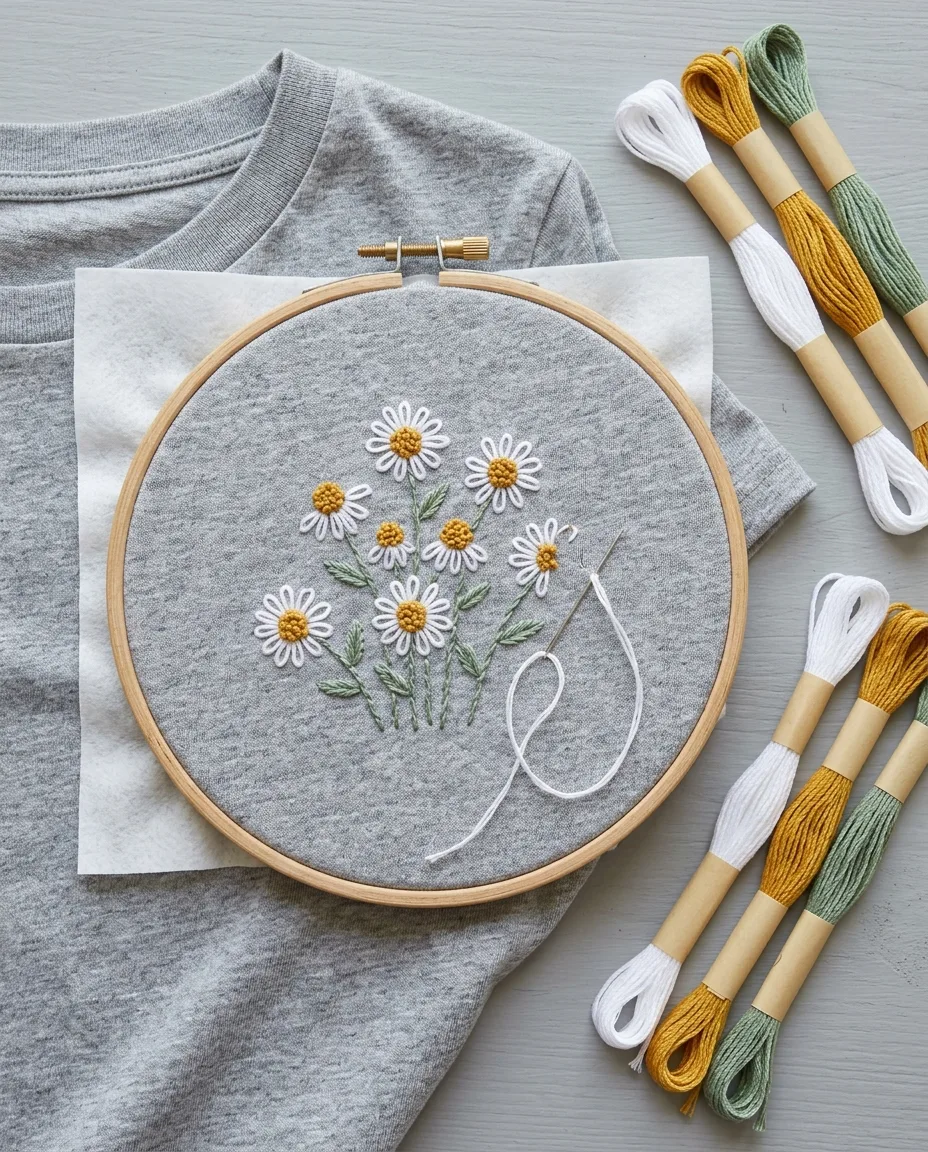
Knit fabric can be embroidered. It needs a stabilizer, which is a thin sheet on the back that stops the fabric stretching while you stitch. Cut-away stabilizer stays on for good. That makes it the right choice for T-shirts, since the stitches need support after every wash.
Iron-on cut-away is the simplest kind to use. Cut a piece 1 inch larger than the design on every side. Press it to the inside of the shirt with a warm, dry iron. Keep hot irons and needles out of reach of young children while you work. After stitching, trim the stabilizer to about 1/4 inch around the design, and round the corners so they don’t poke.
Hoop a knit gently. Tighten only until the fabric is smooth. Stretched knit springs back later and puckers the stitches. If the fine ribs of the knit bend or widen inside the hoop, loosen it and start again. Use 2 strands and a ballpoint needle if you can find one. Its rounded tip slips between the knit loops instead of cutting them, so the fabric won’t form small holes later.
 Save
Puckers and other beginner slips
Puckering is the most common problem. It shows up as small ripples around the stitches after the hoop comes off. Tight stitches cause most of it. Unwashed fabric that shrinks later causes the rest. The puckering guide covers the fixes in detail.
Sewing a pocket shut happens to nearly everyone once. Slide a piece of card inside the pocket first. The needle hits it and stops.
Long tails on the back cause a quieter problem. Nobody sees them on a framed hoop. On a shirt they catch on your fingers as you pull it on, and one hard tug can loosen the stitches on the front. Trim every tail to 1/4 inch and cover the back with soft interfacing.
Dark thread on light fabric shows every wobble. Sage green or coral forgives an uneven line far better than black. Save black thread for your third or fourth project.
Washing embroidered clothes
Turn the garment inside out before it goes in the machine. Use cold water and a gentle cycle, or wash it by hand. Skip the dryer. Heat can shrink the fabric under the stitches, and then the design puckers even if you stitched it perfectly.
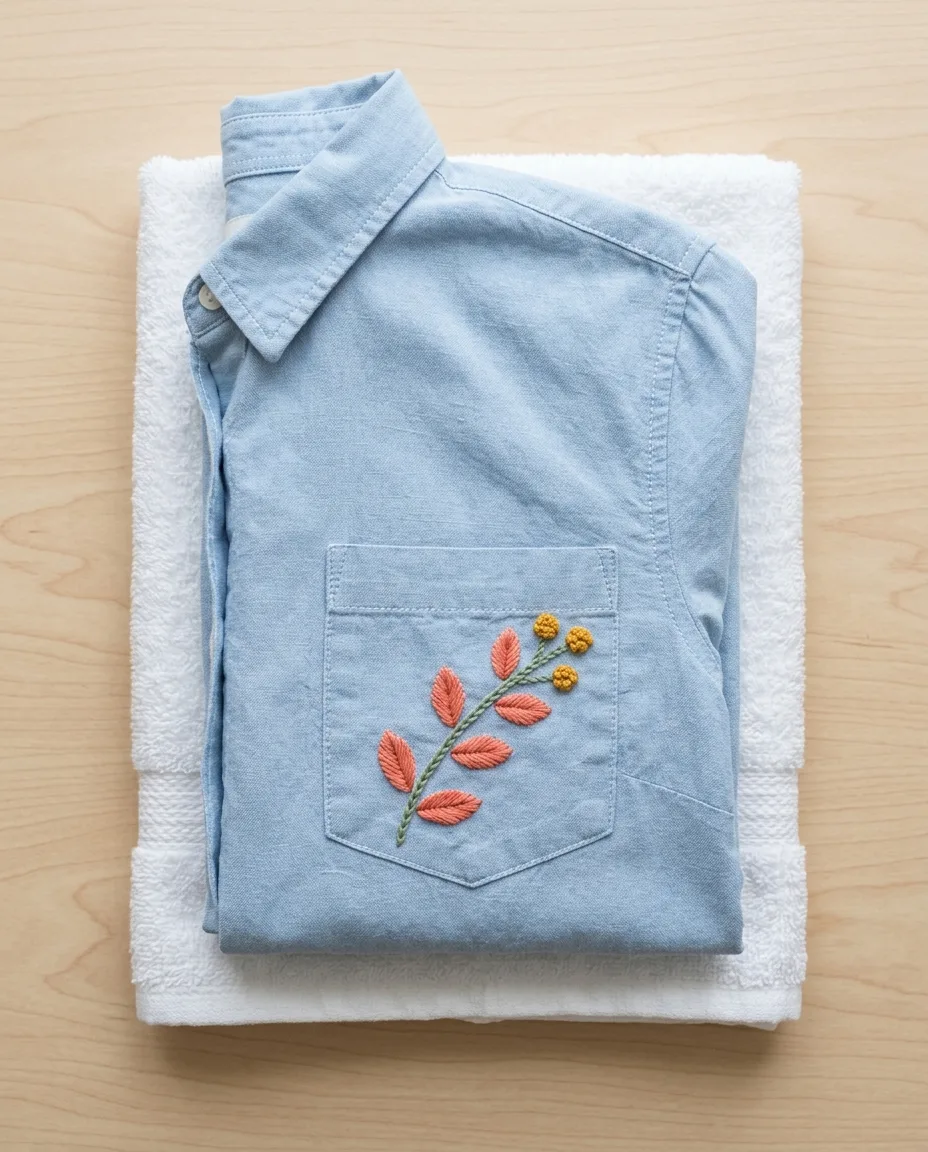
Most cotton floss is colorfast, but deep reds and dark blues sometimes bleed. Test before you stitch. Dampen a spare length of floss, press it on a white paper towel and check whether any color comes off. If it does, rinse the finished shirt in cold water on its own the first time. Change the water until it runs clear. Then lay the shirt flat on a dry towel, never folded, so any loose dye can’t settle into a crease. A bleed caught at this stage usually rinses out completely.
Press from the back. Lay the embroidery face down on a folded towel and iron the fabric around it. The towel lets the stitches sink in, so they stay raised instead of getting flattened into the shirt.
 Save