Quick fix
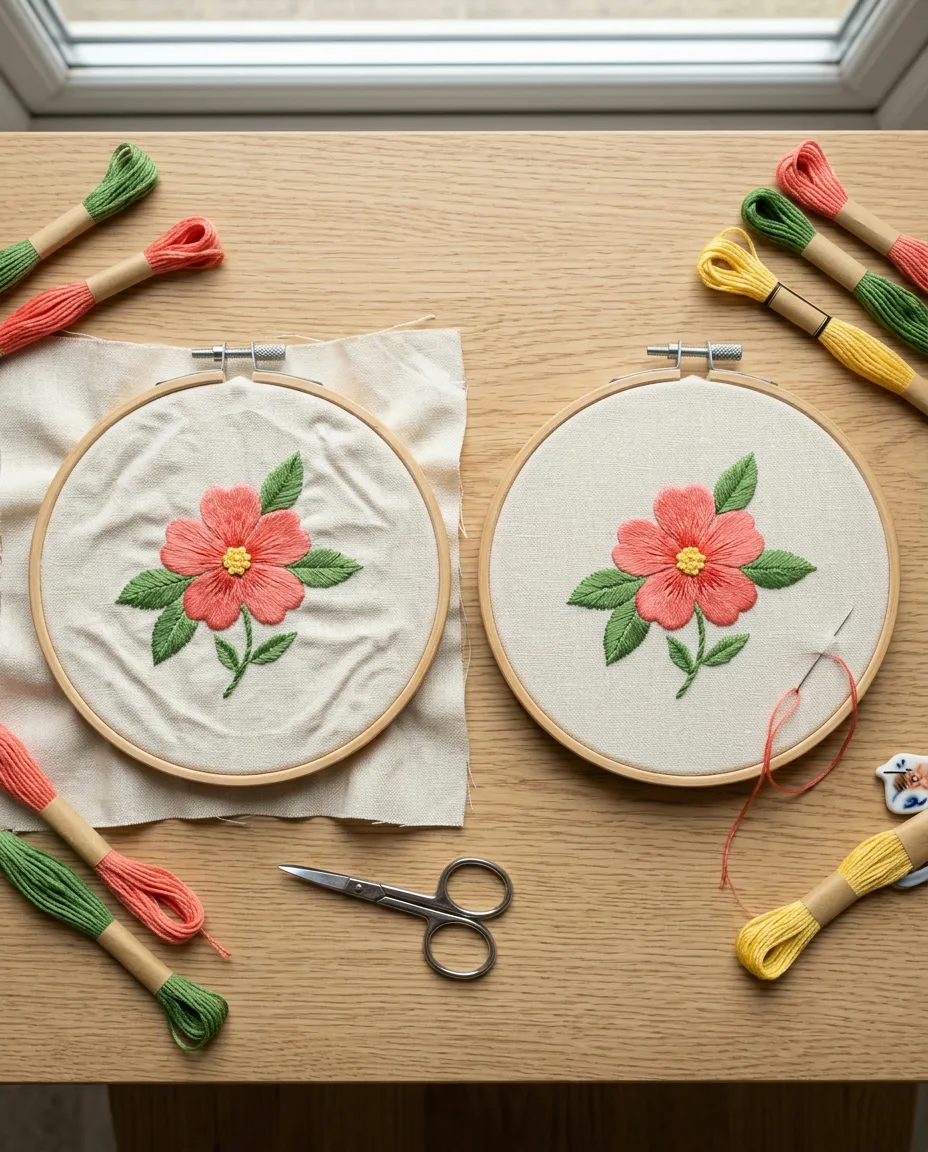
Most puckering comes from fabric that isn't drum-tight in the hoop or stitches pulled too hard. Re-hoop until taut, ease your tension, and fuse stabilizer behind thin or stretchy fabric.
Puckering is almost never your stitching. It is the fabric, and the fabric is fixable. The ripples that circle a satin stitch flower or wrinkle the space between two letters come from tension somewhere in the setup, and once you know where to look, most of them stop for good.
Six causes explain nearly every case. Work through them in order, because the first one fixes more puckers than the other five combined.
Find your cause in thirty seconds
- Ripples spread out from every part of the design: start with the hoop (cause 1).
- The fabric only bunches under filled shapes: look at tension and stitch length (causes 2 and 4).
- It happens on T-shirts and other thin fabric, which need a stabilizer (cause 3).
- The design looked flat in the hoop and wrinkled the moment you took it out: causes 5 and 6.
Cause 1
The fabric wasn’t drum-tight in the hoop
A loose hoop is behind most puckered embroidery. Every stitch pulls the fabric toward itself a tiny amount. In a slack hoop, those tiny pulls add up, and the fabric creeps inward around the design. You won’t see it while you stitch. You see it when the hoop comes off.
Tap the fabric with a fingertip. It should sound like a drum, flat and tight, with no give under your nail.
Getting there takes one habit. Loosen the screw, lay the fabric over the inner ring and press the outer ring down. Tighten the screw about halfway. Then pull the fabric gently outward all the way around, a little at a time, keeping the weave straight. Finish tightening once the surface is tight.
 Save
SaveFabric relaxes as you work, especially linen. Re-tighten every 30 minutes or so, and before any satin stitch fill.
Cause 2
Each stitch is pulled too hard
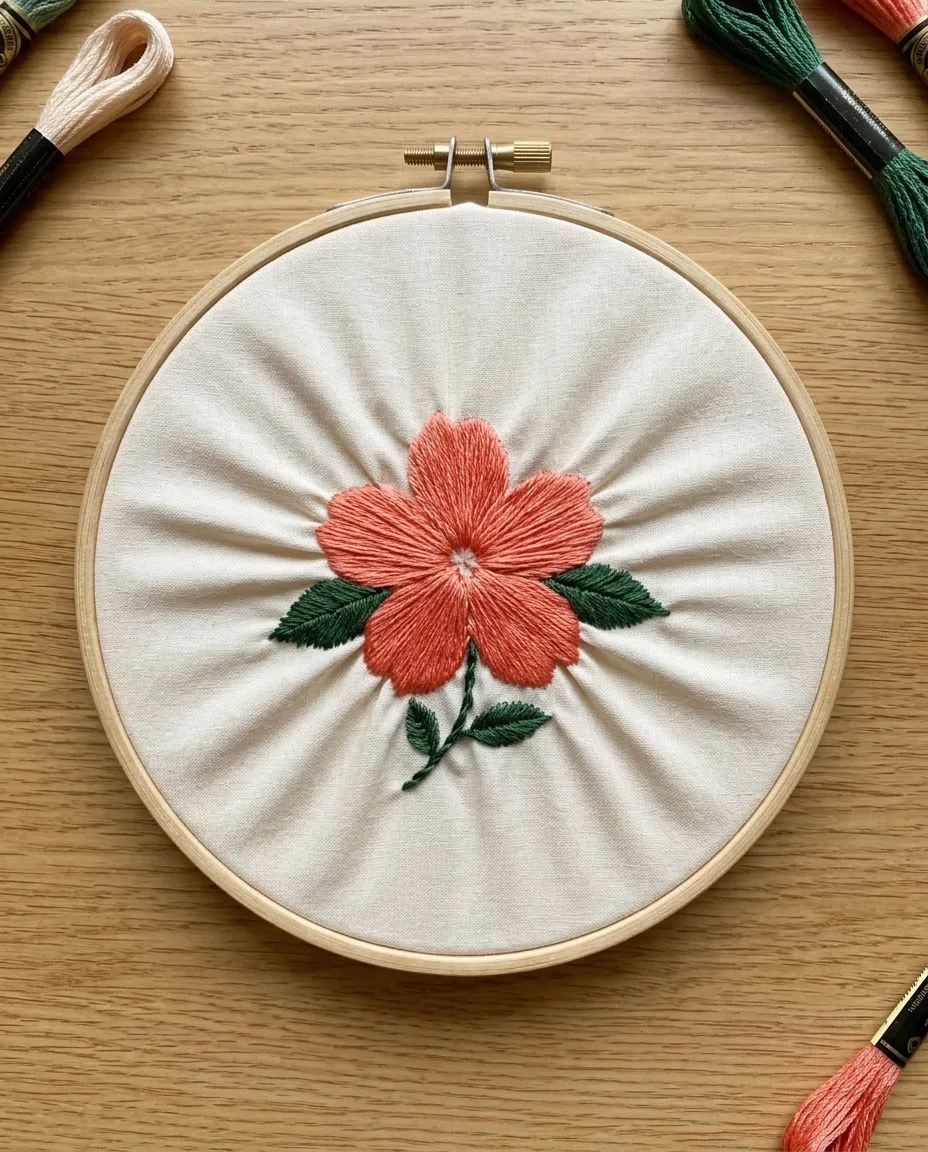
Stitches should lie on the surface. They shouldn’t dig in. When you pull until the thread is snug against the fabric and then keep pulling, each stitch squeezes the weave together. One stitch does nothing visible. Forty satin stitches side by side drag the whole area inward.
The fix is a lighter hand. Pull the thread through until it sits flat and stops moving, then let go. If the fabric dimples beside the stitch, you pulled too far. Watch the edges of filled shapes for small pleats pointing at the stitching.
 Save
SaveHeavy tension also explains knots that vanish. It enlarges the hole, and the knot slips through. Fix tension first when both show up, then see the French knot guide.
Cause 3
Thin or stretchy fabric has nothing behind it
But some fabrics can’t hold stitches alone. Lawn cotton and voile give way under the stitching and bunch up. So do knits, such as T-shirt jersey. And even perfect hooping won’t save them, because the fibers themselves move.
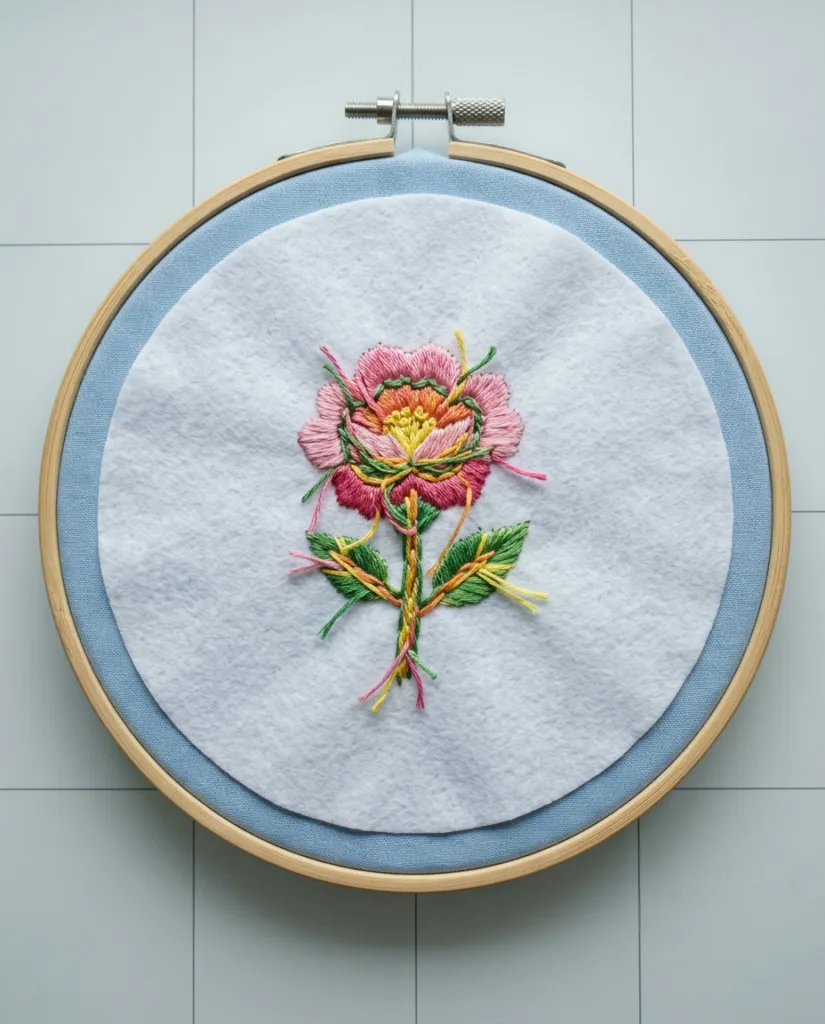
Give them support. Fuse a lightweight iron-on stabilizer to the back before you hoop. Cut it about an inch larger than the design on every side, and press it with a warm, dry iron for about 10 seconds per spot. The stabilizer holds the fabric still, so the stitches can’t pull it out of shape. Test the iron on a scrap first. Some fusible glues (the heat-activated glue on iron-on backings) bubble on synthetic blends if the iron runs too hot.
 Save
SaveTear-away stabilizer suits cotton that won’t be worn next to skin. Soft cut-away stabilizer works for T-shirts and baby clothes. Trim it close to the stitching once you finish. The fabric guide lists which fabrics need it and which don’t.
Cause 4
Satin stitches run too long or too dense
Long satin stitches act like rubber bands. Anything over about 1 cm (roughly 3/8 inch) pulls across the fabric and tugs both edges of the shape toward the middle. Big leaves and petals filled edge to edge in single stitches pucker nearly every time.
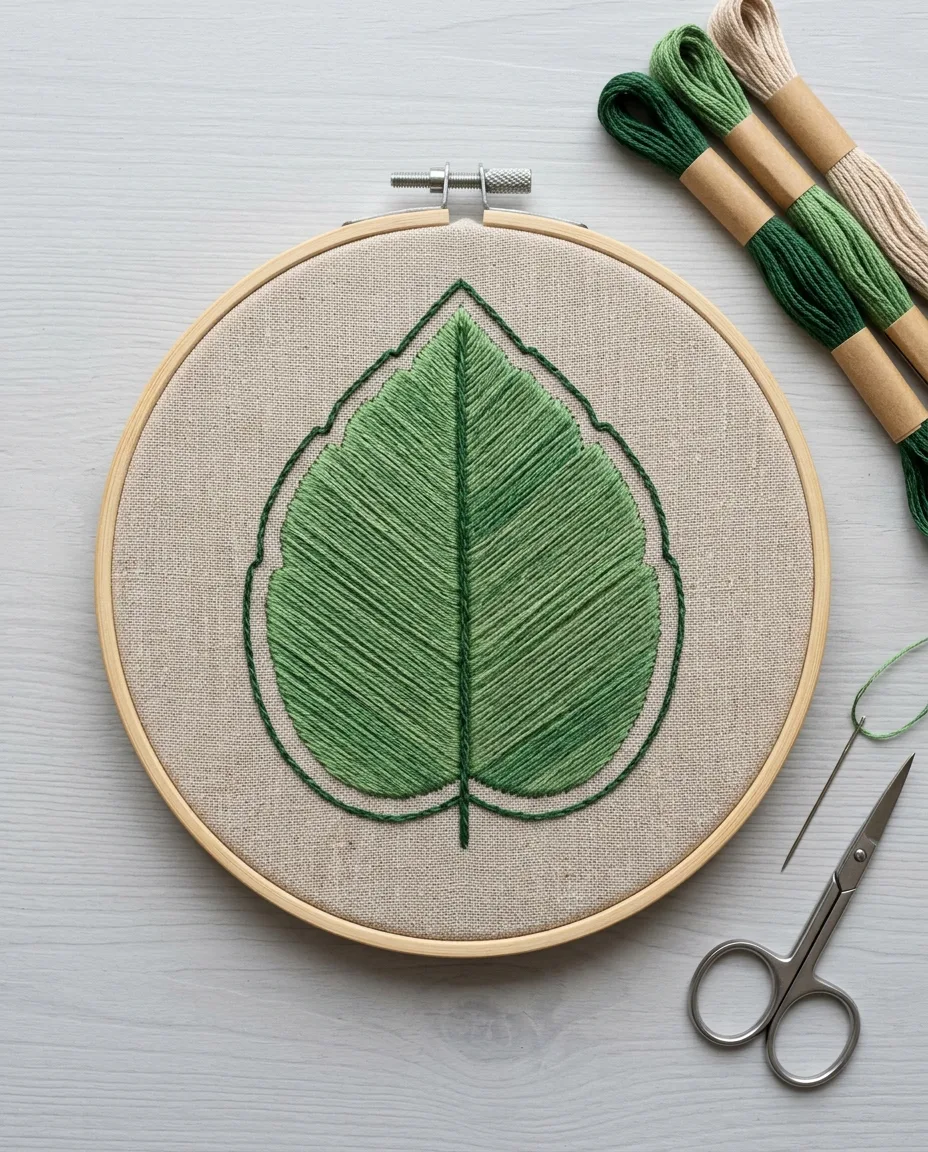
Split large shapes. Stitch half a leaf at a time, angling the stitches toward the center vein, or switch to long and short stitch for anything wider than your thumbnail. Density matters too. Place each stitch right beside the last, touching but not overlapping, and never stitch a second layer over the first to cover gaps.
 Save
SaveOutline the shape in split stitch before you fill it. That thin edge gives the satin stitches something firm to sit against. It adds five minutes and removes most of the pull at the edges.
Cause 5
The hoop moved over finished stitches
Moving a hoop onto stitching you’ve already done crushes it flat and stretches the fabric unevenly between the rings. Where the old and new hoop positions overlap, you get a ridge that later turns into a wrinkle.
Use a hoop that fits the whole design with about an inch of clear fabric around it. For a 4 inch design, that means a 6 inch hoop. When a design is simply too big, wrap the inner ring in cotton twill tape first. The tape grips gently and cushions the stitches. And never leave work in a hoop overnight, because the rings leave a crease of their own.
 Save
SaveCause 6
The fabric was stretched unevenly
This one hides until the end. The design looks flat in the hoop, then ripples the moment it comes out. The fabric was pulled harder in one direction than the other while it was hooped, so it springs back unevenly once released.
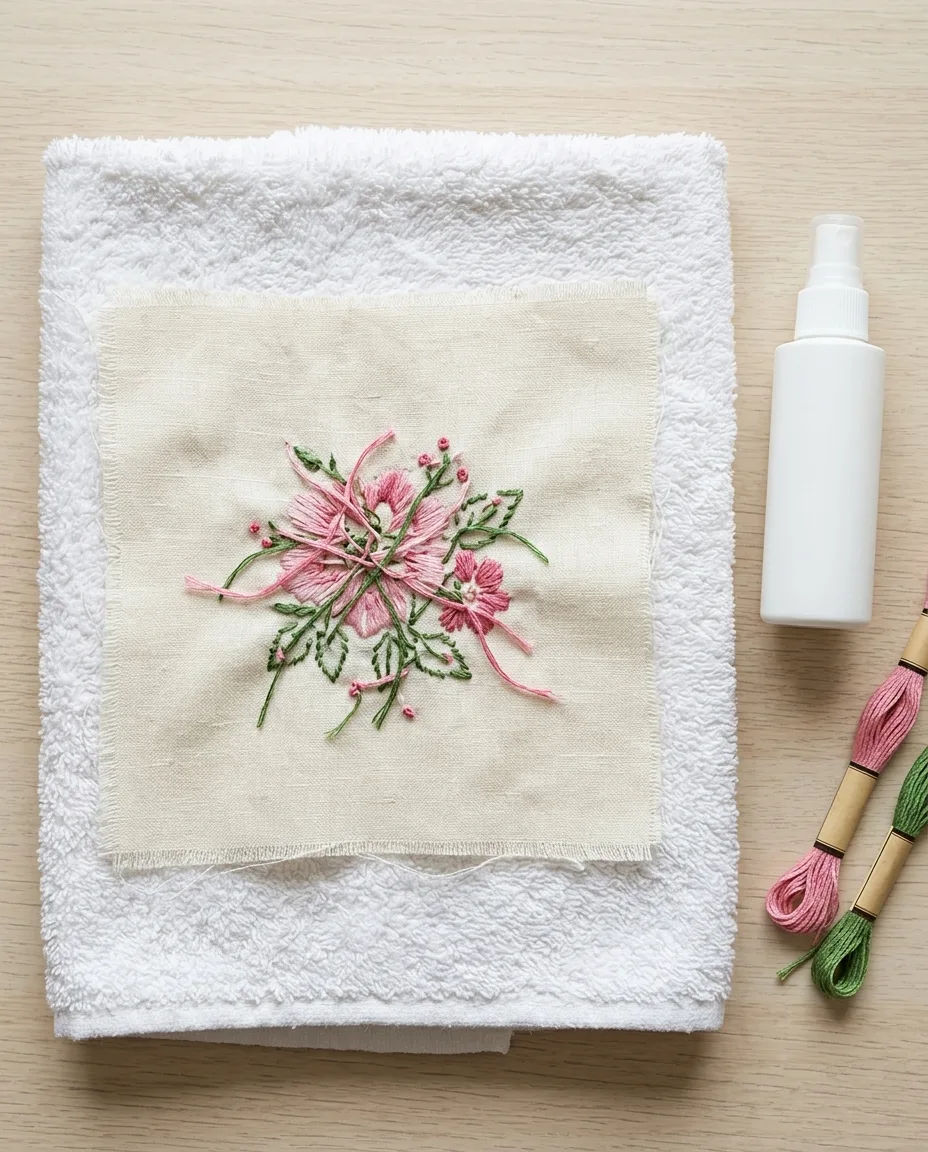
Nothing is lost if the puckers only show after the hoop comes off. Most finished pieces can be rescued. Lay the embroidery face down on a folded, fluffy towel. Mist the back lightly with water and press with a warm iron, lifting and lowering it instead of sliding. The towel lets the stitches sink in, so they keep their height while the fabric flattens around them. Let it dry flat before you move it.
 Save
SaveFor a piece going on the wall, lacing is the permanent answer. Stretch the fabric over a piece of acid-free card and lace the back edges together with strong thread, top to bottom and then side to side. It holds the fabric evenly in both directions for good.
Next time, keep the weave straight while you hoop. The threads of the fabric should run parallel to the hoop screw. Hooping fabric off-grain is the usual reason one direction ends up tighter than the other.