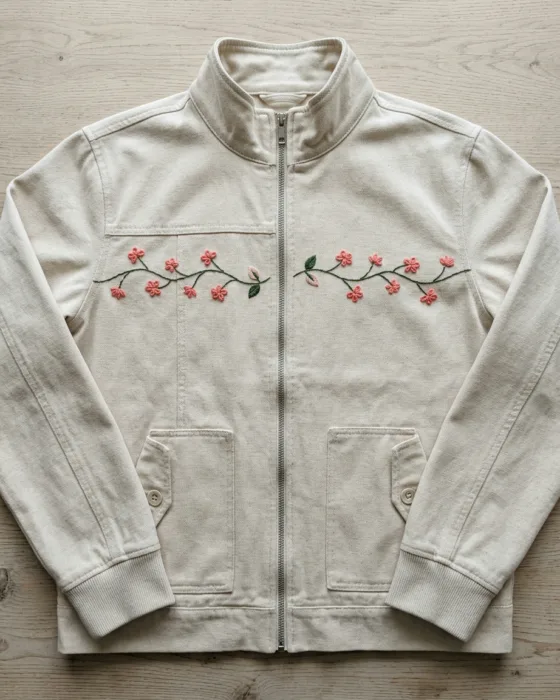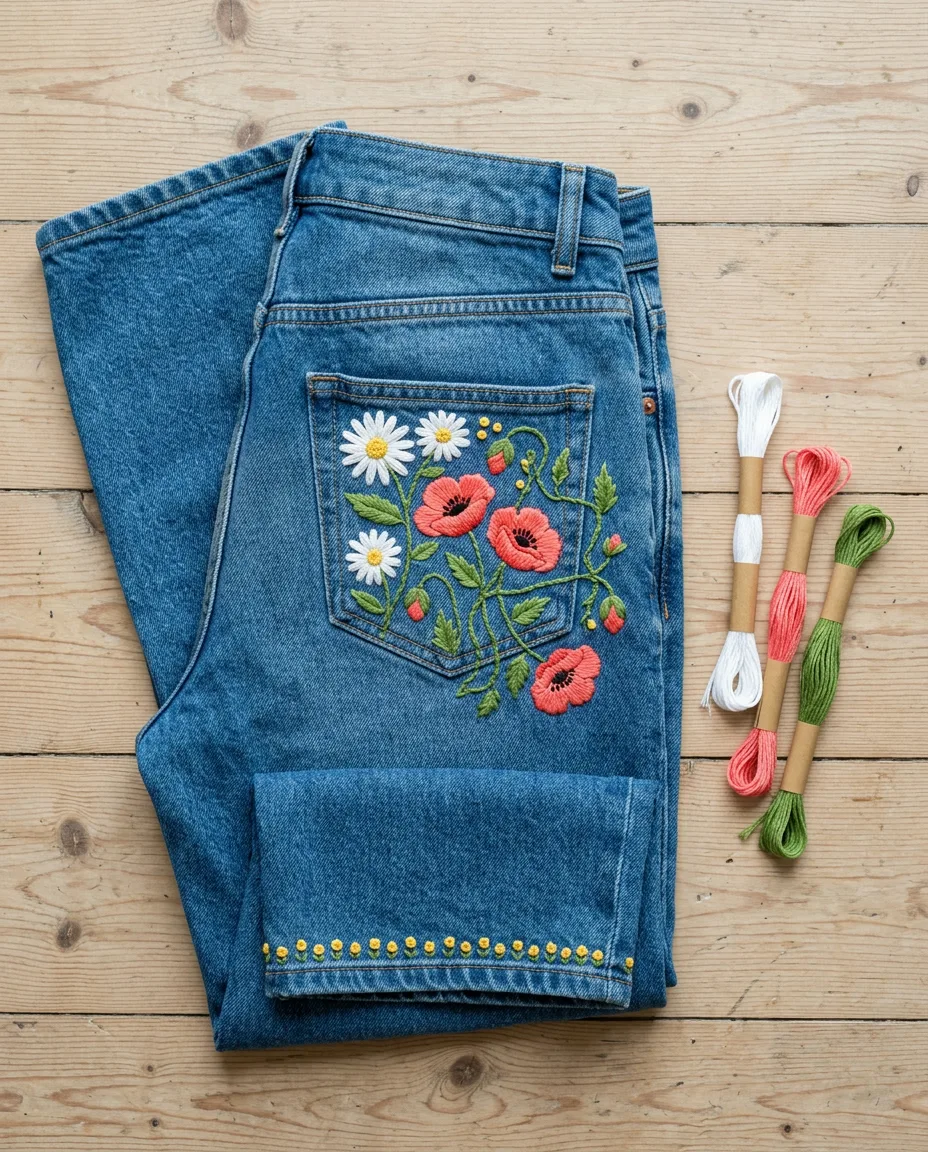
Jeans are the best first garment to embroider, better than any T-shirt. Denim is thick and stable, so it holds stitches without stretching out of shape. Its twill weave, the fine diagonal ribs you can see on the surface, hides a wobbly line. And an old pair costs nothing to practice on.
Denim does ask for a few changes to the usual method. It is tougher to push a needle through than hoop cotton, so you use a sharper needle and more strands. Pockets can get sewn shut by accident. Knees bend all day and need backing. This guide starts with the basic method and then takes each spot in turn.
The basic method for any spot on denim
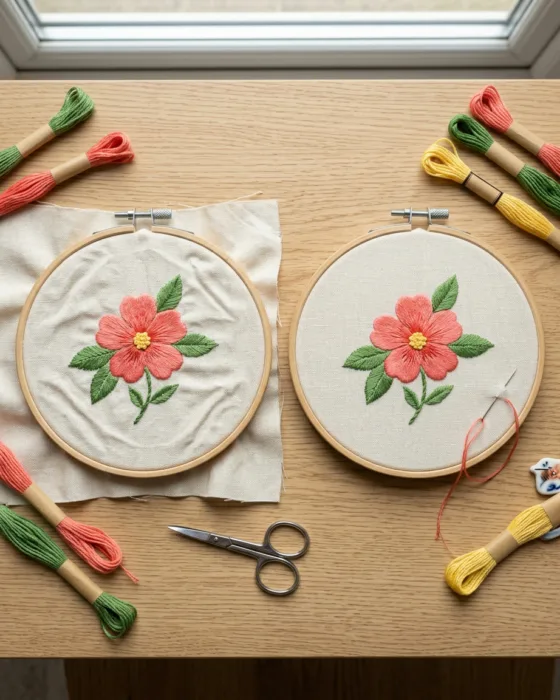
Six-strand floss comes as one thread made of six thin strands you can pull apart. On denim, use 3 strands for outlines and 4 for fills. Two strands look thin and get lost in the twill. Cut lengths about 18 inches long (45 cm), because longer pieces fray as they drag through the tough weave.
- Wash and dry the jeans before you start. New denim shrinks, and it would pucker around finished stitches.
- Choose the spot. Keep the first design under 4 inches across, small enough to fit a 5 inch hoop.
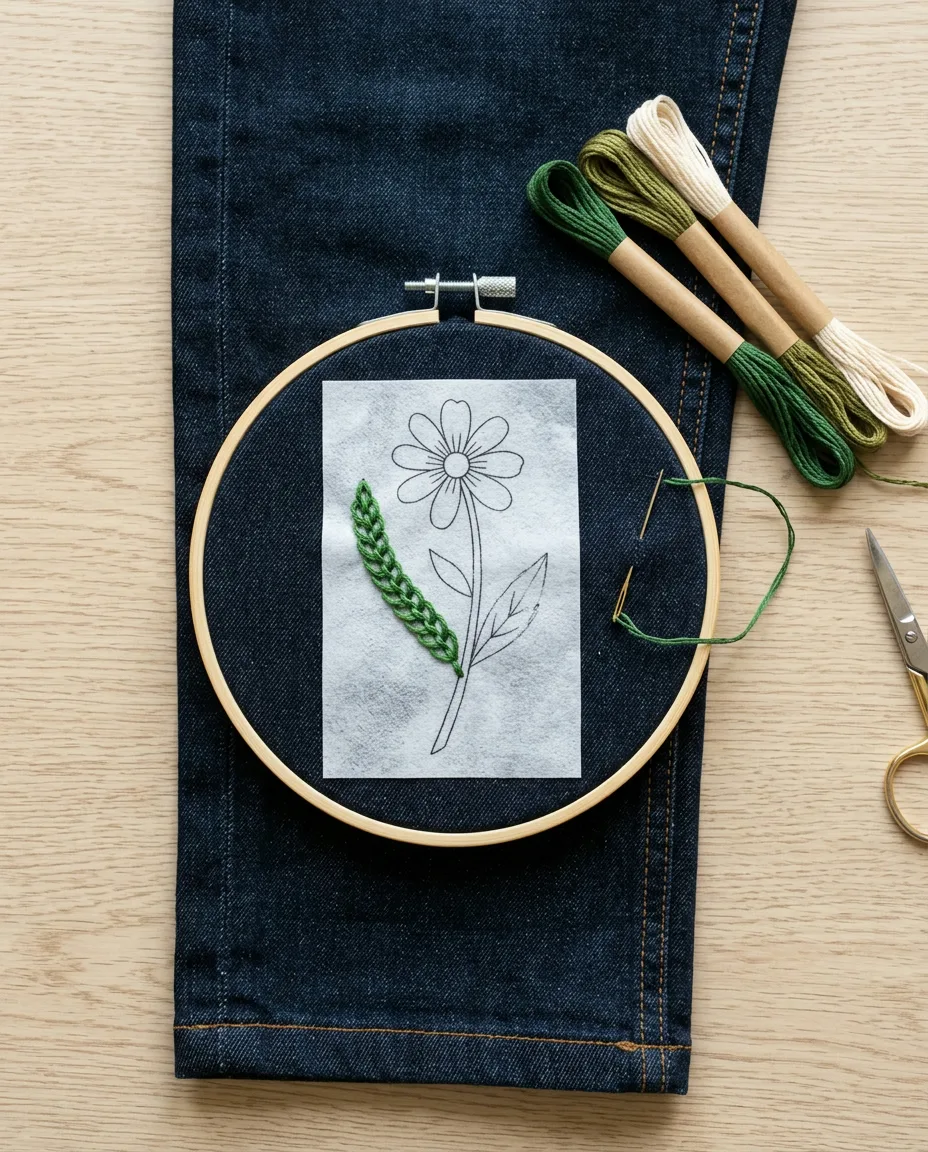
- Draw the design on a sheet of stick-and-stitch stabilizer, peel off the backing and press it onto the denim. The white sheet shows clearly on dark washes, where pens disappear.
- Clamp the hoop around the jeans fabric itself, with the design centered. Tighten until the denim feels firm under your fingertip.
- Stitch outlines first with stitches about 3 mm long, just over 1/8 inch. Then work the fills. Save French knots for the very end.
- Soak the stitched area in lukewarm water for 10 minutes until the stabilizer dissolves. Rinse, then dry flat.
- Turn the jeans inside out and iron a square of interfacing over the back of the stitching.
 Save
SaveChain stitch and stem stitch are the two workhorses here. Chain stitch is a line of linked loops, each one caught down by the next. Stem stitch is a line of slanted stitches that each overlap half of the one before, like a twisted cord. Both hold up to wear better than backstitch, where each stitch comes up a stitch ahead and goes back down into the end of the last one. On coarse denim, backstitch can look gappy.
Back pockets
A back pocket is the most visible spot and the easiest one to ruin. The needle goes through the outer layer, then carries on into the lining behind it. Ten stitches later the pocket is sewn shut.
Prevent it with your spare hand. Slide it inside the pocket while you stitch, palm against the lining. You will feel the needle tip if it goes too deep. Pull back and come up again through the outer layer only. Some people slip a thin piece of card into the pocket instead. It works, but card bends and lets the needle past at the corners.
Three inches across is about the limit for a pocket design. A hoop rarely fits there, since the side seams and rivets get in the way. That is fine. Denim is firm enough to stitch in hand at that size. Keep an even grip and check the front after every few stitches for rippling.
Satin stitch flowers look sharp here. Satin stitch is a row of straight stitches laid side by side to fill a shape. Keep each stitch under 8 mm long (about 5/16 inch), or it will snag on chair backs. For longer shapes, split the petal down the middle and fill each half separately.
 Save
SaveKnees take the most strain
Every step bends the knee and stretches the fabric over it. Stitches on an unbacked knee get pulled apart, and the denim around them puckers after one day of wear. The fix is interfacing, fused before you stitch rather than after.
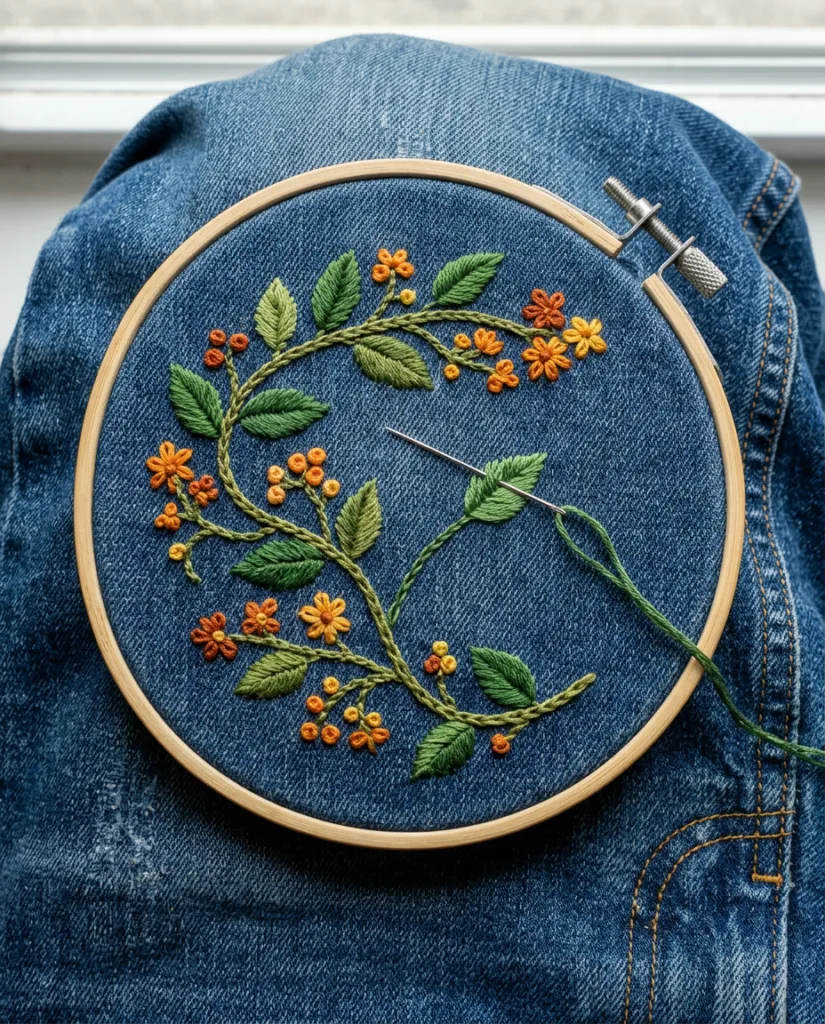
Turn the leg inside out. Iron a 5 inch square of lightweight interfacing onto the inside of the knee area. Turn it back. Now clamp the 5 inch hoop around the knee, through the denim and the interfacing together. The two layers move as one, and the stitches stay put.
 Save
SaveChain stitch is the strongest choice for knees. Each loop anchors the next, so one broken stitch doesn’t unravel the whole line. Use 4 strands and loops about 4 mm long. A trailing vine that curves up the thigh suits the shape of a leg well.
Skip big French knots on knees, since they catch on the other leg as you walk and pull loose within a few wears.
Hems, stitched in hand
Most jeans legs are too narrow at the ankle for a 5 inch hoop. So hems are the one place to work without a hoop entirely. Hold the fabric flat over your fingers and keep the tension light.
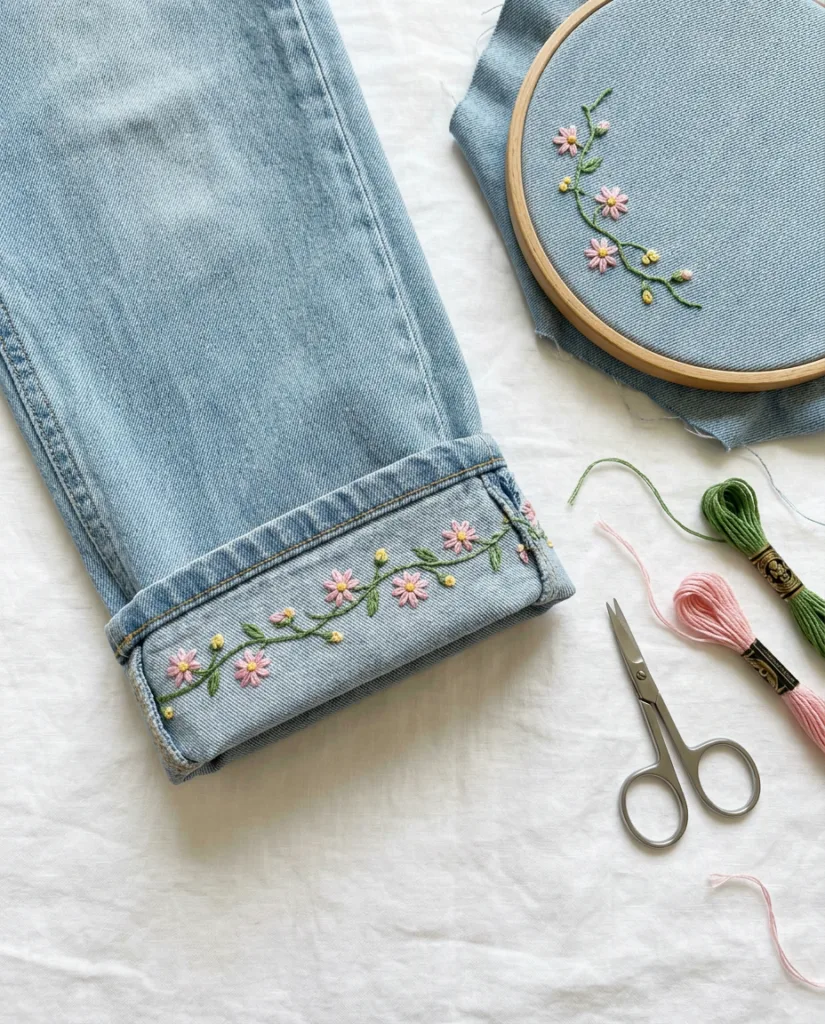
Stem stitch vines and small lazy daisies suit a hem. A lazy daisy is a single loop of thread pinned down at its tip with one tiny stitch, which makes a petal shape. Five of them in a ring make a flower about 1/2 inch across. Work them in 3 strands in a color that contrasts with the wash, like pink or mustard on mid-blue denim.
 Save
SavePlacement depends on how you wear them. If you cuff your jeans, keep the design at least 1 inch above the fold line so the cuff doesn’t hide it. If you wear them long, wrap a band all the way around the ankle. The flat-felled side seam is thick, so push the needle through it with a thimble.
Choosing a design that suits denim
And simple outlines read best from a distance. A single flower or a curling vine shows up well across a room. Fine detail like shading gets swallowed by the twill.
Colors need more contrast than you think. Pale pastels on light-wash denim nearly vanish. On dark indigo, bright yellows and warm pinks stand out, and white is striking. Test a short line of each color on the inside hem first. Look at it in daylight, since lamplight makes colors look warmer. Indigo also rubs off onto pale floss over the first few wears, so white stitches turn faintly blue. Some stitchers like that softened look. If you don’t, pick cream instead of white, and the shift is hard to spot.
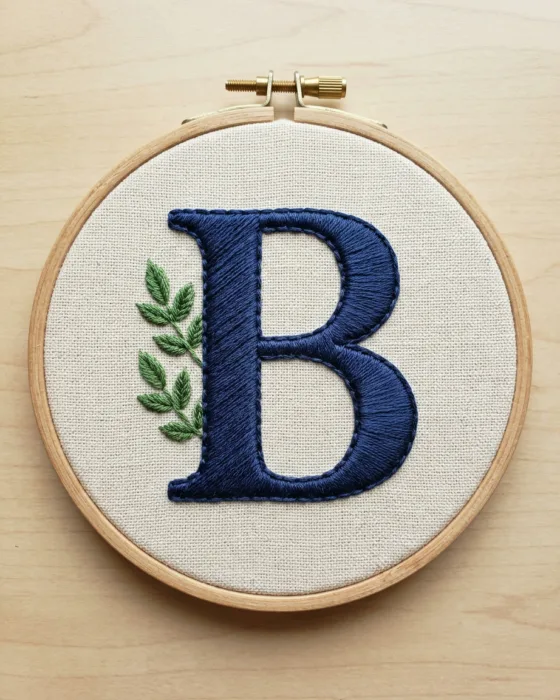
Initials work well on a pocket or waistband too. The guide to stitching names by hand covers letter spacing, and the same rules apply on denim with one extra strand.
Mistakes that show up after the first wear
Most denim embroidery problems show up a week after you finish. Three of them account for nearly all the complaints.
Puckering around the design usually means the jeans weren’t prewashed or the hoop was loose. If it has already happened, a gentle steam from the back can relax small ripples. The full list of causes is in the puckering fix guide.
Snagged stitches come from long floats, the stretches of thread that cross more than about 8 mm of fabric. Shorten them, or tack them down in the middle with a tiny stitch.
Scratchy insides are the third. The back of the stitching rubs on skin, especially at the knee. That is what the interfacing is for, so don’t skip it.
Washing embroidered jeans
Turn the jeans inside out before every wash. Use cold water on a gentle cycle, then hang them to dry. The tumble dryer is the fastest way to loosen hand embroidery and fade the floss.
Keep the first wash on its own. Some red and dark floss can bleed slightly the first time. After that, the jeans can go in with a normal load of darks.
Iron from the inside only, with a towel under the embroidered area. And if your stitches ever pull through or look flat, the French knot guide shows how to fix knots on thick fabric.