Halfway through a baby’s name on a cotton blanket, the stitcher notices the lowercase a has corners. It was drawn as a smooth oval. In thread it looks like a stop sign, six flat sides joined at points. She hasn’t done anything clumsy. Every stitch sits exactly on the line, and each one is simply too long to bend.
That is the whole problem with lettering, and it has a plain fix. Straight parts of a letter take long stitches. Curves take short ones, often half the length. Add a stitch that hides the joins between stitches, and the curves read as one smooth line.
Gather these first:
How to stitch a name in split stitch
Split stitch is the best starting stitch for names. Each stitch comes up through the middle of the one before, so the line has no gaps for a curve to show through.
- Write the name out by hand or print it in a rounded font, about 3/4 inch (19 mm) tall. Skip fonts with thin hairline strokes, because those break into dots in thread.
- Draw a faint straight baseline on the fabric with the pen. Tape the lettering to a bright window, tape the fabric over it with the letters sitting on the baseline, and trace.
- Hoop the fabric until it is drum-tight, with the baseline level and the screw at the top.
- Thread the size 7 needle with 2 strands. Six-strand floss pulls apart into single threads, and two together make a fine, even line.
- Start each letter where a pen would start it. Bring the needle up on the line and make one stitch 3 mm (about 1/8 inch) long.
- Bring the needle up from the back right through the middle of that stitch, splitting the two strands apart. Take it down 3 mm farther along the line.
- On straight strokes, keep stitches at 3 to 4 mm. As soon as the line starts to bend, shorten them to 1.5 to 2 mm.
- On the tightest part of a curve, such as the top of an s or the bowl of a g, drop to about 1 mm for two or three stitches.
- Finish each letter and tie off on the back before starting the next. Slide the needle under four stitches on the back and trim. Thread carried between letters shows through light fabric.
Leave the pen lines until the very end. Rinse them out in cool water before any iron touches the fabric, since heat can set some inks.
Why short stitches make curves smooth
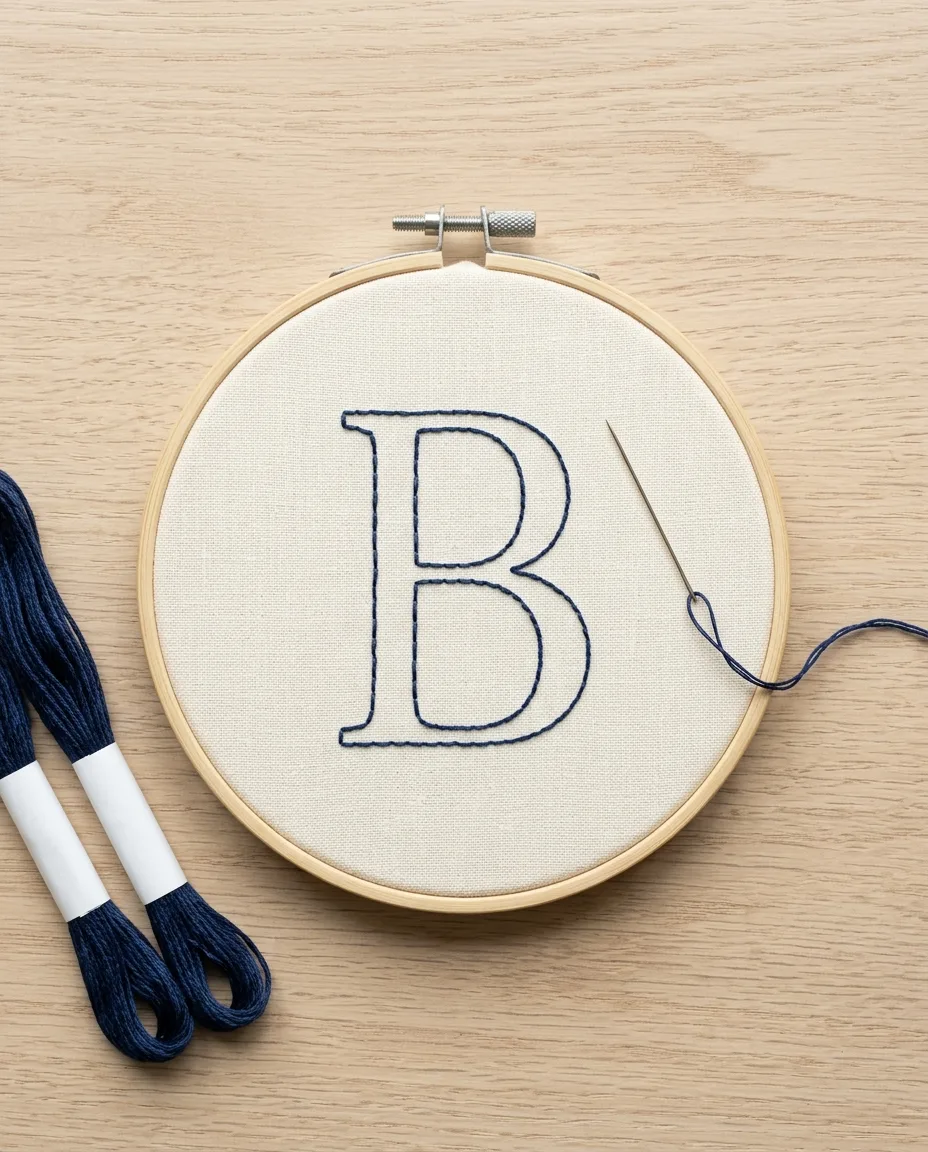
Every stitch is a straight line. Nothing about thread can change that. A curve made of straight lines looks round only when each line is short enough that the eye can’t find the corners.
At 4 mm, a 1/2 inch letter o gets about ten stitches around its edge. That reads as a polygon. At 2 mm it gets twenty, and the corners vanish. Long stitches also cut across the inside of a curve, so the letter looks thinner on the bends than on the straights.
 Save
SaveSo change stitch length on purpose. The shift should feel dramatic while you do it. Once the letter is finished, nobody notices the length change at all. They only notice when it was skipped.
Pick the stitch that suits the letter size
Choose the stitch by the size of the letters and where the name will live.
Split stitch gives a clean, slightly textured line that hides joins well. It suits letters from about 1/2 inch to 2 inches tall. Below 1/2 inch it starts to look lumpy, because each split adds a little bulk.
Whipped backstitch is the smoothest line of all. First stitch the letter in backstitch, 2 mm long. For backstitch, you come up one stitch ahead and go back down into the end of the last stitch, so the stitches touch. Then thread 2 strands of a second length on the blunt size 24 tapestry needle. Slide it under each backstitch in turn, always from the same side, without going through the fabric. The wrapping thread fills the tiny dips between stitches and turns them into one rounded cord.
 Save
SaveWhipping in the same color gives a raised, smooth line. A contrast color gives a candy-stripe twist, which works on a playful name and looks busy on formal script.
Chain stitch is best for bold names on sweatshirts and blankets. Use 3 strands and loops about 3 mm long, dropping to 2 mm on curves. It reads well from across a room and survives the washing machine better than the other two.
Joins in cursive
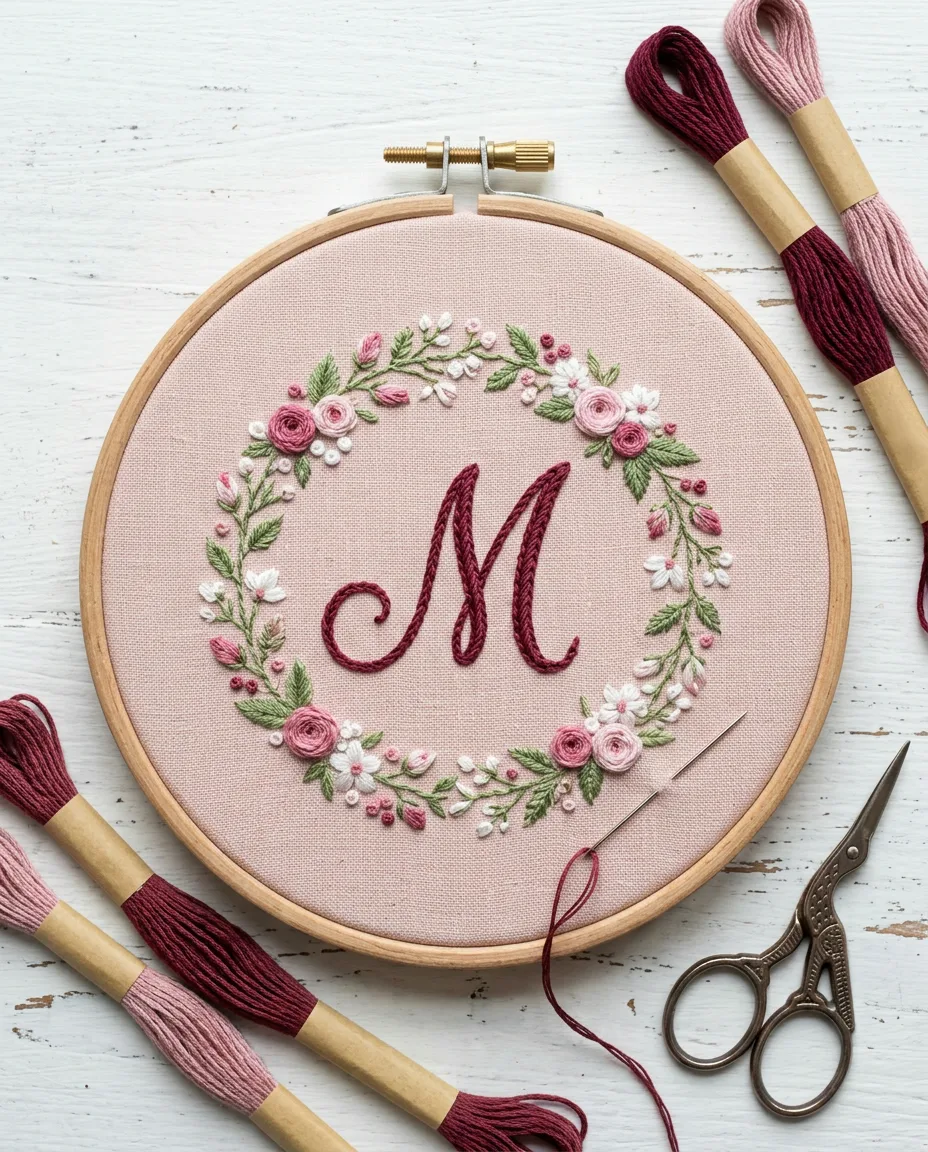
Where one letter flows into the next, end the first letter’s stroke exactly at the join. Then start the next letter by bringing the needle up inside that last stitch, the same move as split stitch. The two strokes lock together and the join disappears.
Gaps at joins are the most common flaw in stitched script. They come from starting the new letter a millimeter short, which looks harmless on the fabric and obvious in the finished piece.
Sizing and spacing a name
Letter height decides almost everything else. Under 1/2 inch, use backstitch in 1 strand with stitches about 1.5 mm long, since there is no room for thicker stitches on the curves. From 1/2 to 1 inch, split stitch or whipped backstitch in 2 strands looks best. Above 1 inch, move to 3 strands or chain stitch so the line doesn’t look thin against the fabric.
Spacing matters less than people think, as long as it is even. Leave about the width of a lowercase n between words. Between print letters, allow about 2 mm. Mark the spacing on the pen tracing before you stitch, since fixing it later means unpicking whole letters.
Six inches of hoop runs out fast on a long name. Stitch as much as fits, then move the hoop along. Pad the rings with a scrap of cotton where they sit over finished stitches so they don’t crush them.
Names on sweatshirts and baby blankets
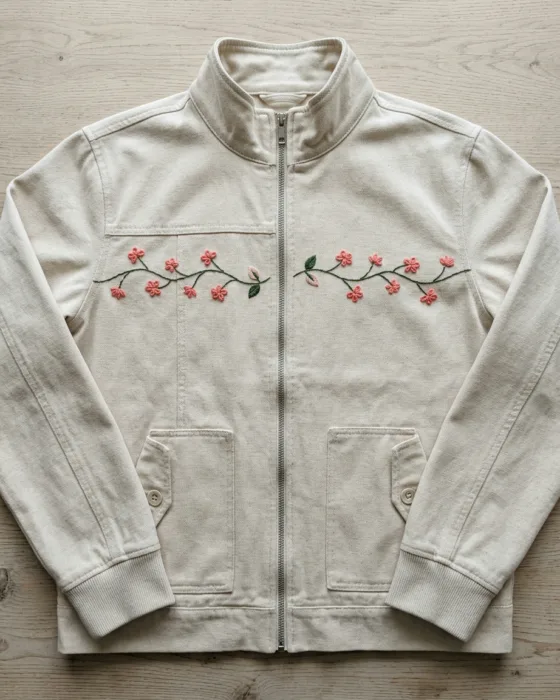
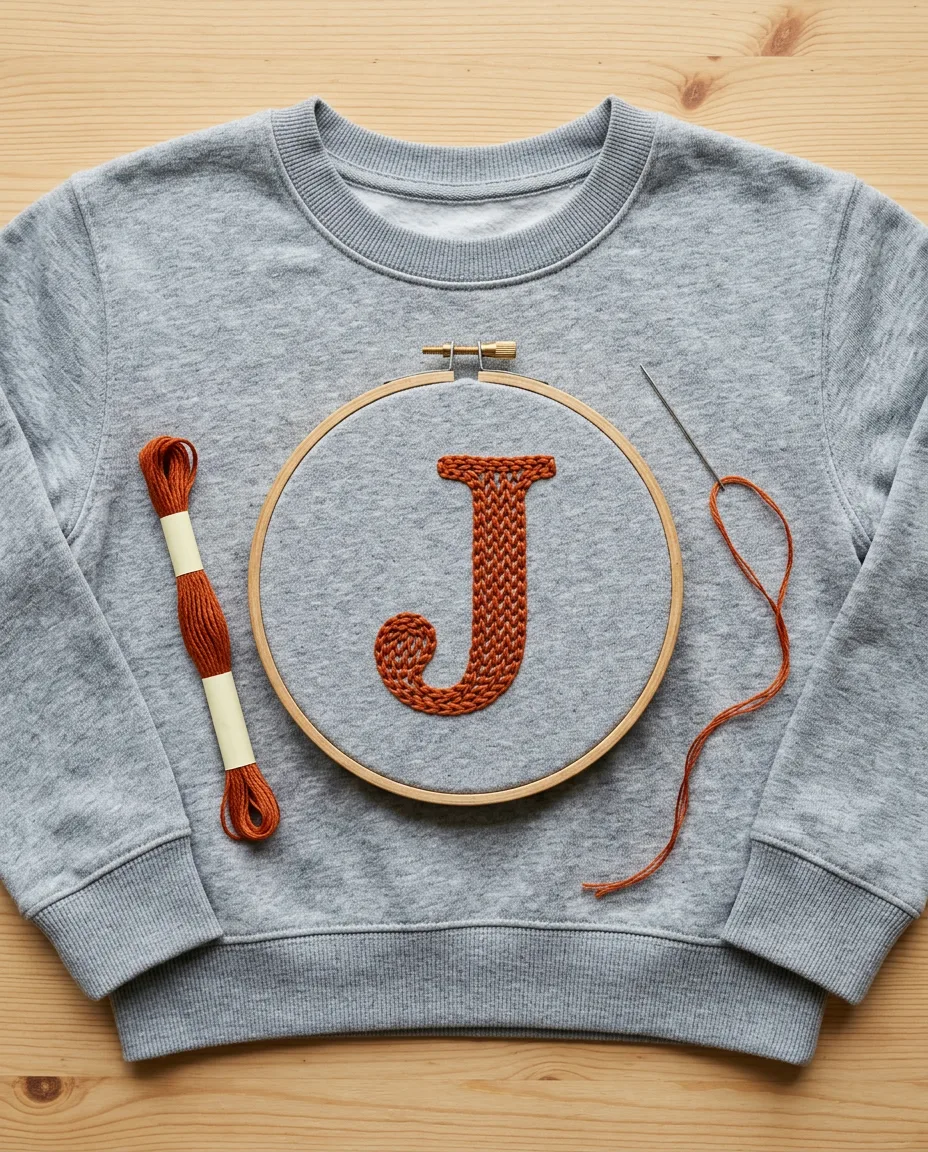
Clothing moves, and stitches on moving fabric pucker unless something holds the fabric still. Iron a soft fusible stabilizer onto the back of the lettering area before you trace. On a sweatshirt, clamp the hoop around the sweatshirt’s own fabric, never over a separate piece laid on top. Stitch in chain stitch with 3 strands.
 Save
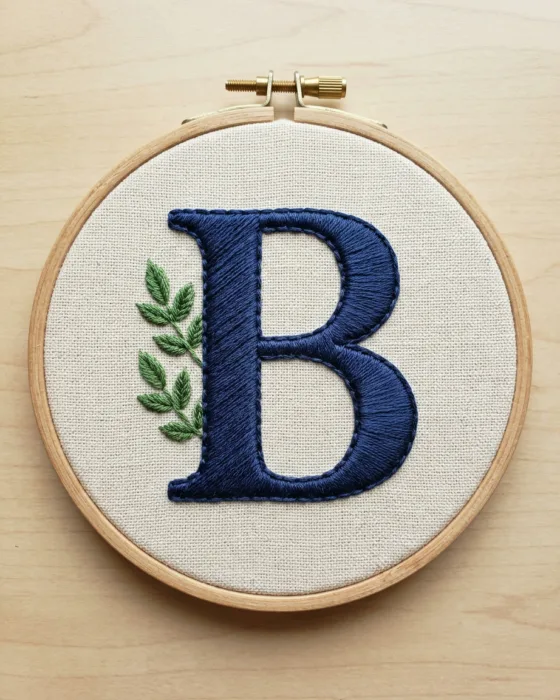
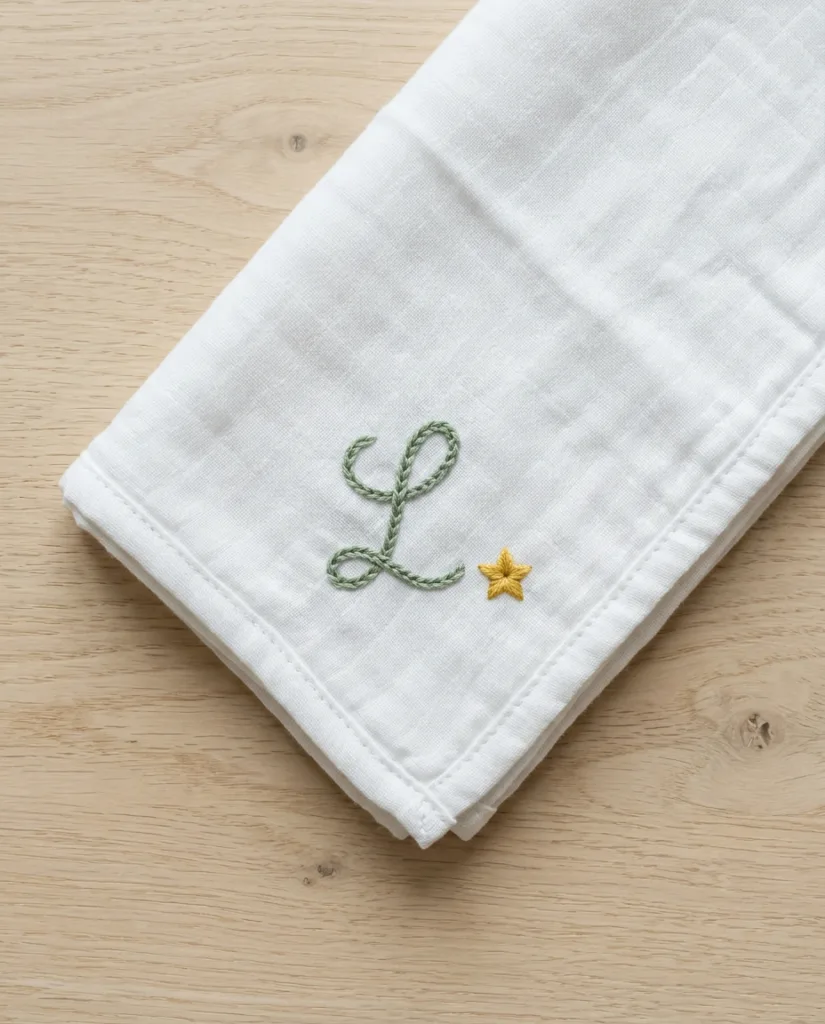
SaveA single initial on a muslin swaddle or bib takes about half an hour. Chain stitch is the right call there too, because it holds up to frequent washing. Back the finished stitching with soft iron-on interfacing so the knots on the back don’t rub a baby’s skin. Keep the iron and the needles well away from small children while you work.
 Save
SavePuckers around a stitched name almost always trace back to the hoop or the stabilizer. The puckering guide works through each cause in order. For a quick present, a stitched initial is on the list of last-minute embroidery gifts.
Fix a wobbly letter before moving on
Don’t keep going and hope. A bad curve in the first letter sets the rhythm for every letter after it. Unpick the stitches with the eye end of the needle, lifting them one at a time from the front. Snipping near finished stitches with scissors risks cutting the fabric. Brush the needle holes closed with a fingernail, then restitch with shorter stitches through that bend. If you are new to hooping and threading, start with the beginner guide and stitch one practice word before the real name.