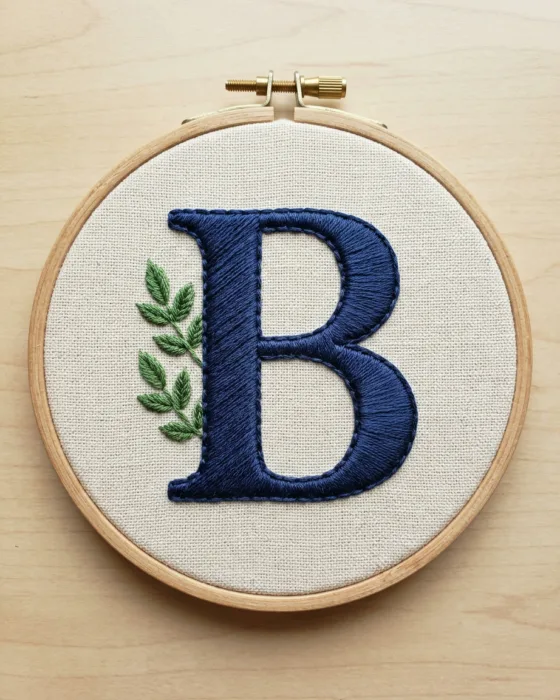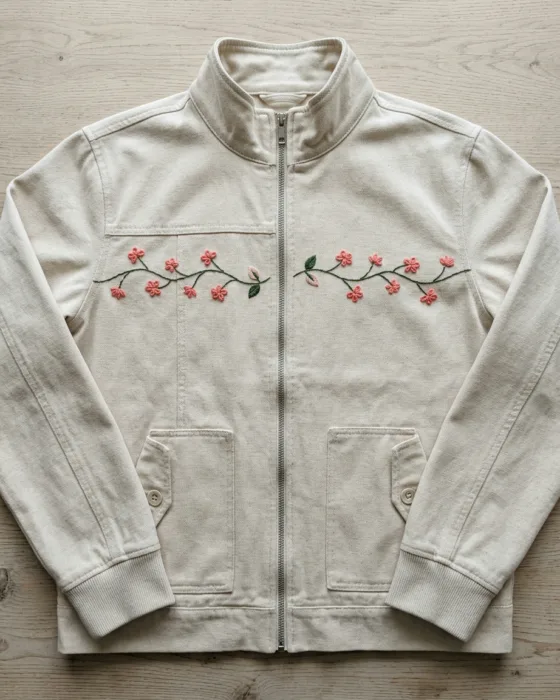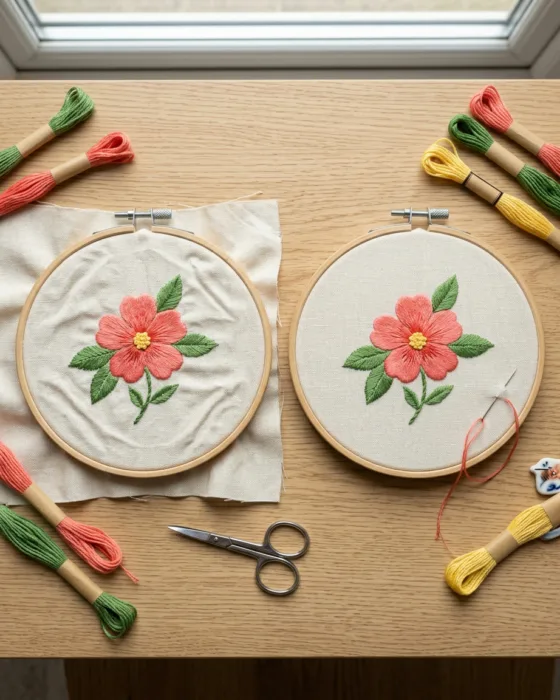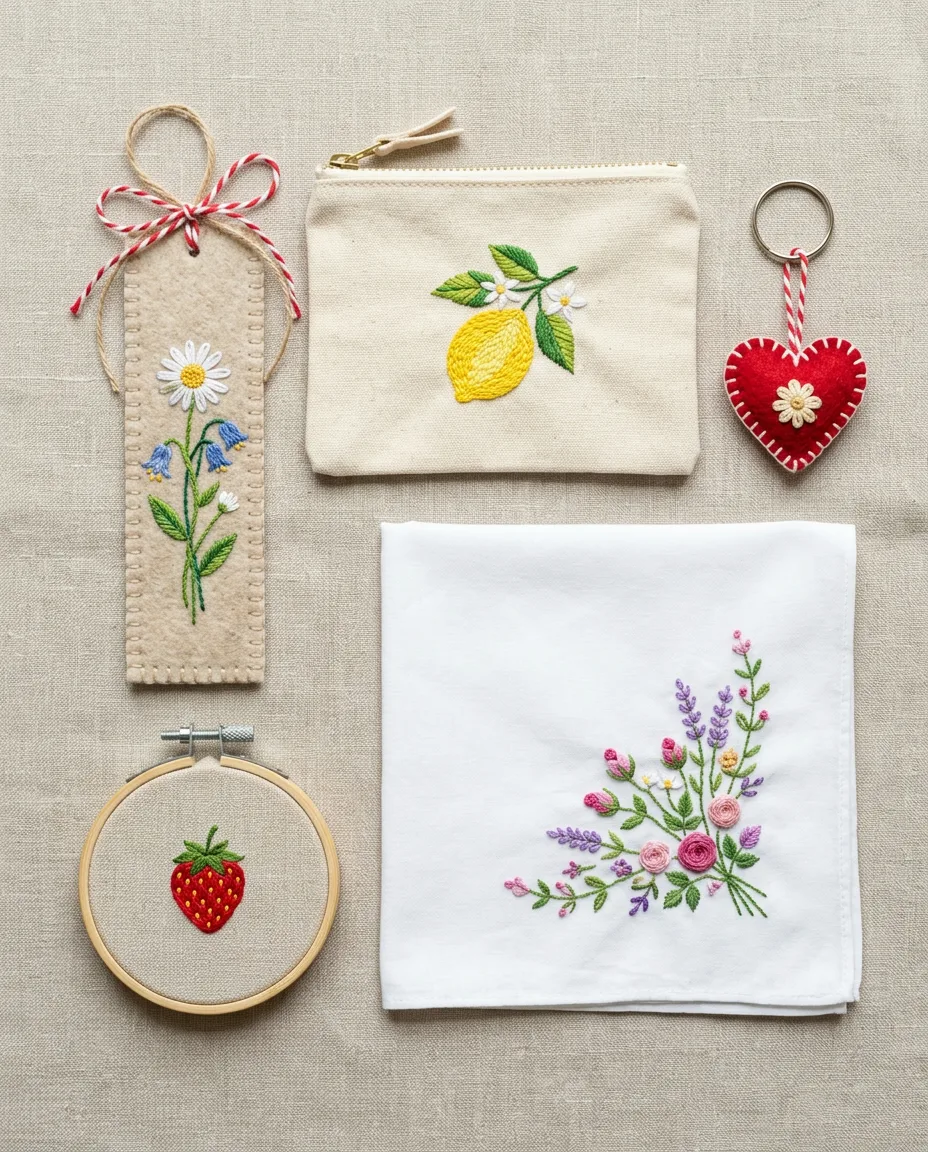
Pick the gift by the time you have left. Every idea below fits inside two hours, and the first few fit inside one. Most rely on lazy daisy petals and French knots, so nothing here asks you to learn a hard stitch on a deadline.
And they are ranked by how forgiving they are. The bookmark at the top survives shaky stitching. The paper card at the bottom is quick, but paper tears if you pull too hard, and a torn card can’t be patched.
Before you start
Six-strand floss is sold as one thick thread made of six fine strands twisted together. You pull them apart and stitch with 2 or 3 at a time, and each idea says how many. Cut lengths of about 18 inches. Longer thread tangles and frays before you reach the end, which costs more time than rethreading does.
Felt is the shortcut when time is short. It doesn’t fray, so the edges need no hemming, and stiff craft felt holds its shape without a hoop. For cotton or linen, use the hoop size given and tighten it until the fabric is drum-tight. Stick to two colors of floss per gift and you’ll skip the slowest part, which is deciding. Wrapping takes longer than people expect, too. Leave 15 minutes of the two hours for it. Nobody minds a plain paper wrap around a handmade thing.
Draw every design with a water-soluble fabric marker, which rinses out with cold water. Don’t iron over it first. Heat can set the ink for good.
Felt bookmark with a single daisy
 Save
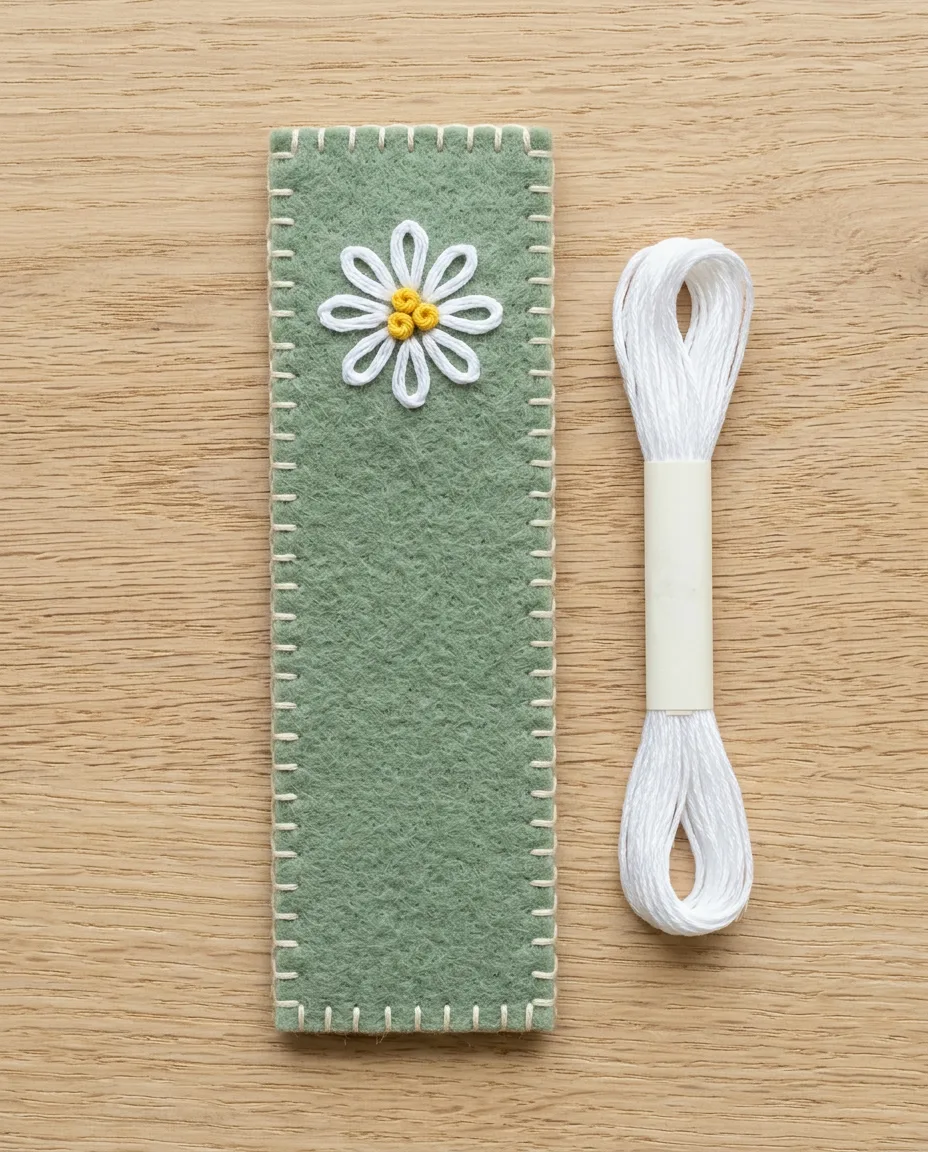
SaveCut a strip of stiff felt 2 inches wide and 7 inches long. No hoop is needed. Near the top, stitch a daisy of eight lazy daisy petals in 2 strands of white, each petal about 6 mm (1/4 inch) long. A lazy daisy is one loop of thread tacked down at its tip with a tiny stitch, which makes a teardrop shape.
Fill the center with three French knots in 3 strands of yellow, two wraps each. A size 5 embroidery needle handles both.
Now cut a second strip the same size and lay it behind the first, so the messy back of the daisy is hidden. Join the two layers with blanket stitch in 3 strands, stitches about 4 mm deep and 4 mm apart. That takes about 25 minutes on its own. Plan on an hour in total. The full method is in the bookmark tutorial.
Mini hoop ornaments for the tree
 Save
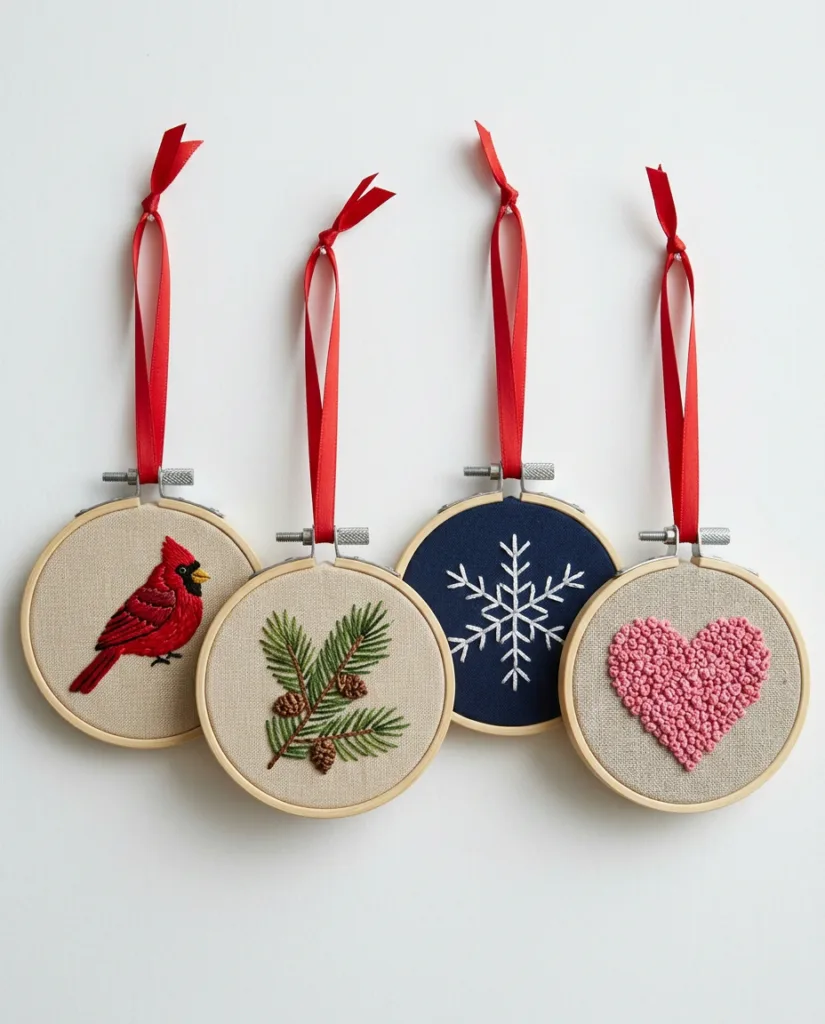
SaveHere the 3 inch wooden hoop is the frame and the finished ornament at once. Hoop a scrap of plain cotton and stitch one motif under 2 inches wide in the middle. A sprig of red berries made from French knots works well. So does a heart outlined in knots packed side by side.
For a pine sprig, draw a straight stem 1 1/2 inches long. Cover it with fly stitches in 2 strands of green, stacked up the stem with arms about 4 mm long. A fly stitch is a V shape held at its point by a short tacking stitch, and a column of them reads as needles on a branch. A size 7 needle suits them.
Finishing takes ten minutes. Trim the fabric to 1 inch outside the hoop and sew a running stitch around the edge. Pull it tight on the back like a drawstring, then glue a felt circle over the gathers. A loop of ribbon through the hoop’s screw hangs it. Each ornament takes 30 to 45 minutes, so a set of four fits in an evening. Work all four motifs before finishing any of them. Gathering and gluing go faster in a batch. And the glue on the first has dried by the time you reach the last.
A handkerchief with a flowered corner
 Save
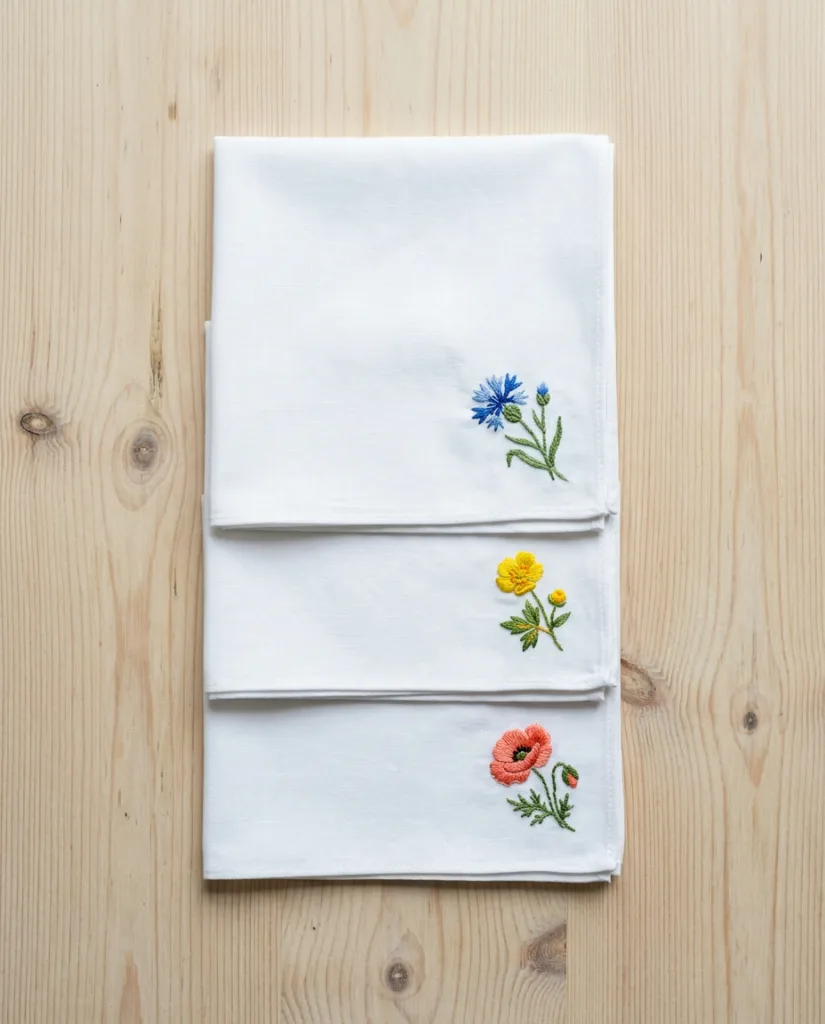
SaveNo hoop grips a corner well. The ring has nothing to grip on two sides. Fix that by tacking the handkerchief corner onto a larger scrap of cotton with long running stitches, then hoop the scrap at 4 inches. Stitch through both layers and snip the tacking threads away when you finish.
Handkerchief cotton is thin, so go finer. Switch to a size 9 needle with 2 strands, and keep the lazy daisy petals about 3 mm long. A small cluster of flowers about 1 1/2 inches across looks right in the corner, with French knot centers.
Both sides of a handkerchief show. Start and end threads by weaving the tails under stitches on the back instead of knotting. Never carry the thread more than 1/2 inch across the back between flowers, because it shows through thin cotton as a shadow line. About an hour.
One chain stitch initial on a tea towel
 Save
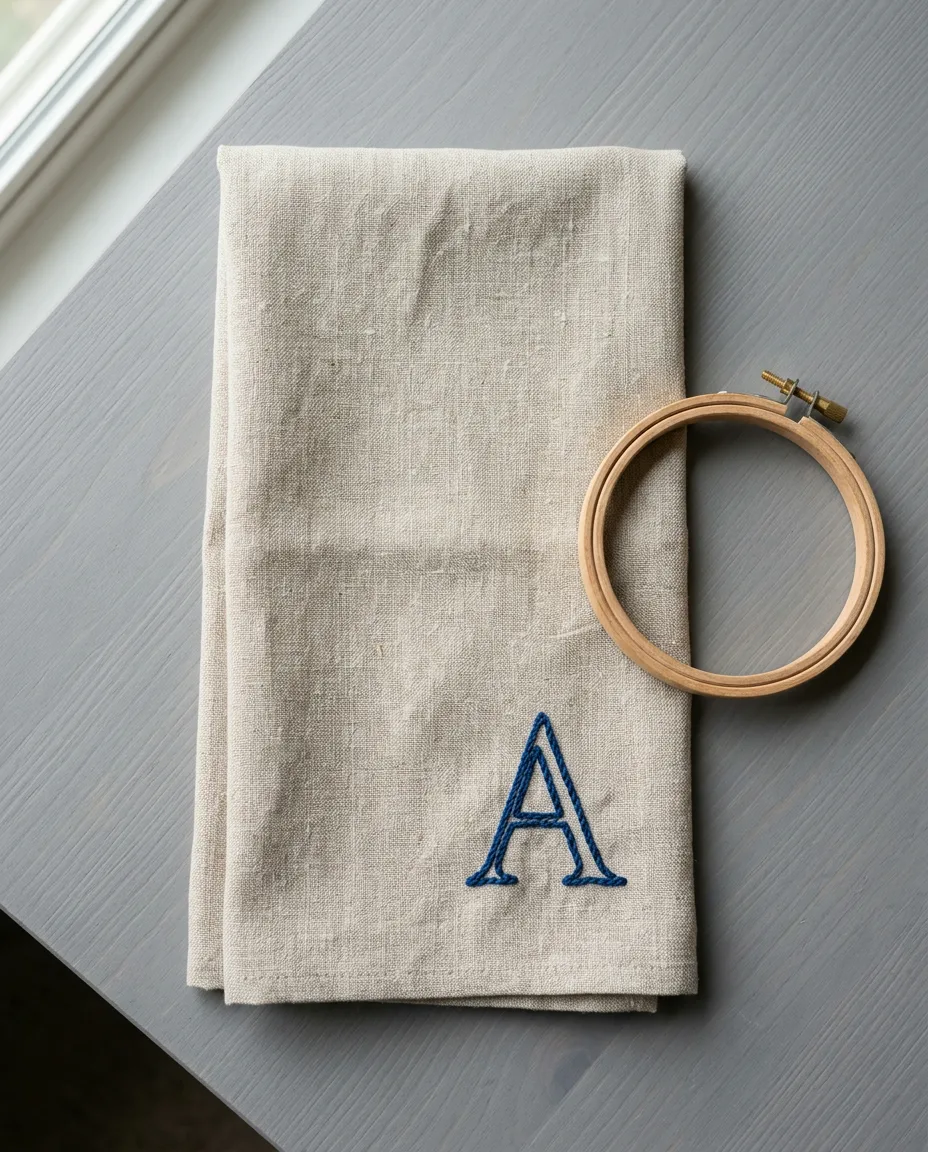
SaveOne letter, 2 inches tall, is quick and practical. Wash and dry a linen tea towel first, because linen shrinks and will pucker a design stitched before the wash. Draw the letter in one lower corner, about 2 inches in from both edges, and clamp a 6 inch hoop around it.
Chain stitch is a line of loops, each one holding the next. Come up, go back down in the same hole, and bring the needle up 3 mm ahead with the thread under its tip. Pull gently and a loop forms. Work it with 3 strands and the size 5 needle.
At tight curves, shorten each loop to 2 mm so the line bends smoothly instead of in corners. The lettering guide covers curves in more detail. One letter takes 30 to 40 minutes. The towel can go straight in the wash once you rinse the marker lines out.
Stuffed felt heart keychain
 Save
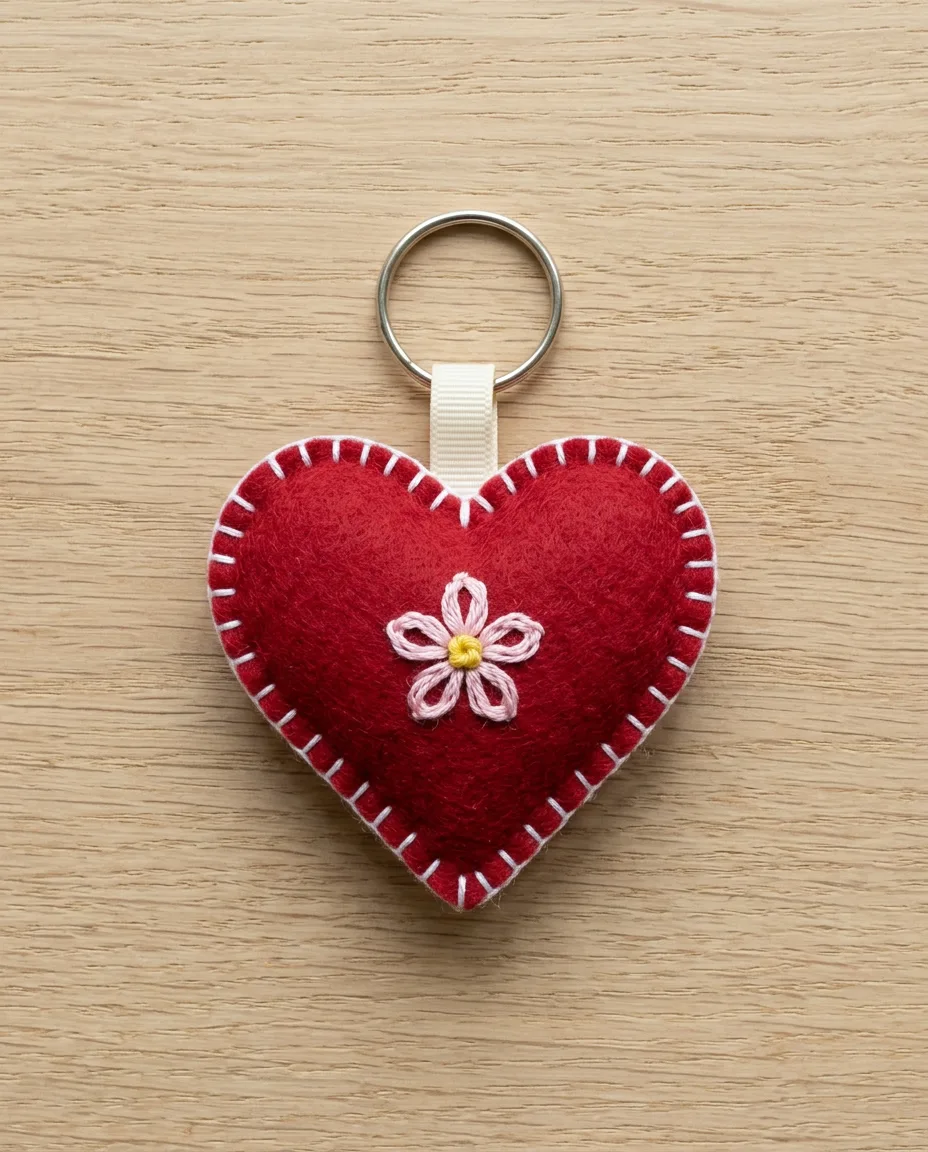
SaveCut two felt hearts, each about 2 1/2 inches across. Stitch a small flower on the front heart before anything else, since you can’t reach the back once the two are joined. Five lazy daisy petals in 2 strands, each 5 mm long, with one French knot center is enough.
Fold a 3 inch length of narrow ribbon into a loop. Sandwich its ends between the two hearts at the top dip. Then join the edges with blanket stitch, stitches 3 mm deep and 3 mm apart, catching the ribbon as you pass it. Three strands on the size 5 needle from the bookmark will do.
Stop with about 1 inch still open. Push in a small pinch of polyester fiberfill with the blunt end of a pencil, then stitch the gap closed. Thread a split key ring through the ribbon loop. About 50 minutes. Keep it away from toddlers, since the ring and the stuffing are both choking hazards.
Lemon on a canvas zip pouch
 Save
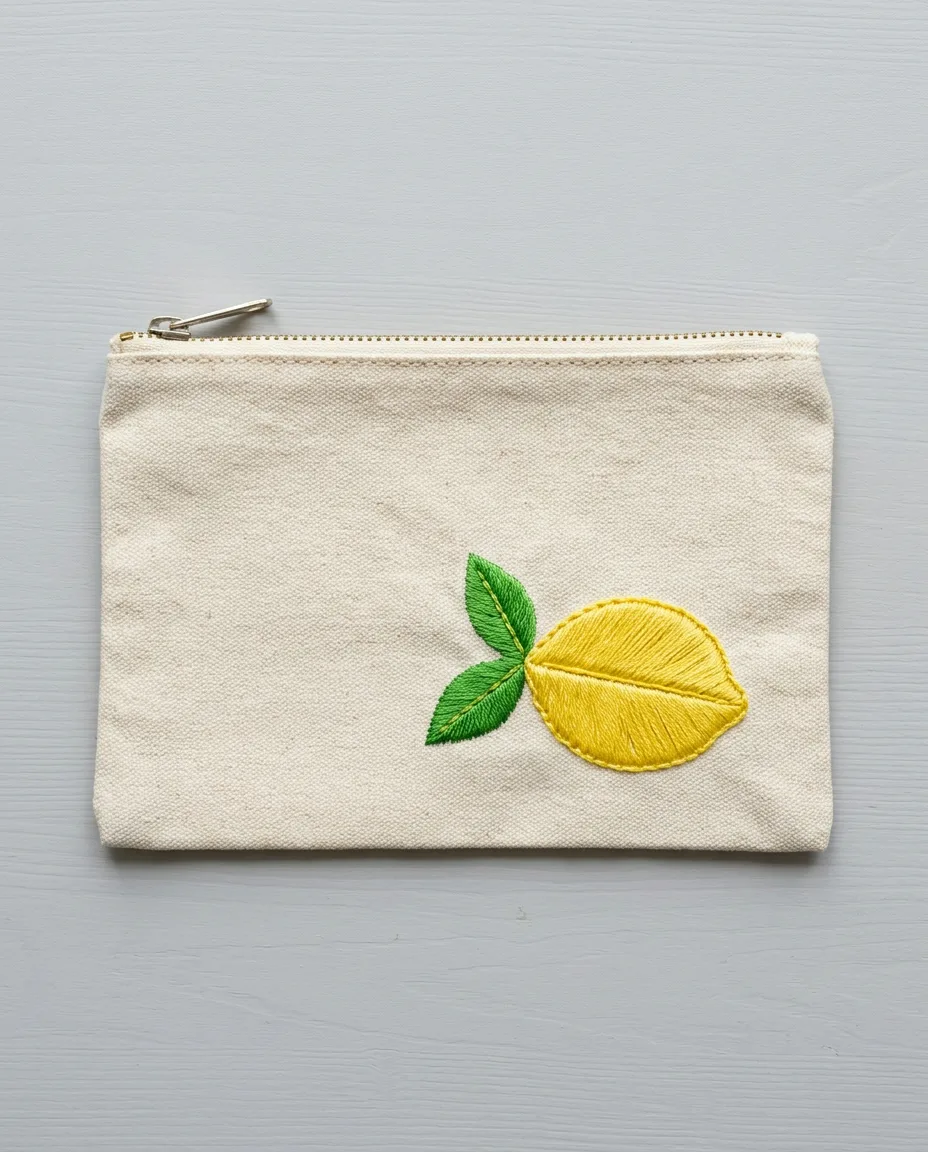
SaveOpen the zip first. Slide the inner ring of a 5 inch hoop inside the pouch, under the front layer only, and press the outer ring down over it. Stitching through the front alone keeps the pouch usable. Catch the back layer and it’s sewn shut.
Draw a lemon 1 inch long and 3/4 inch wide, with two leaves at one end. Canvas is thick. Go up to a size 3 needle, which opens a hole wide enough for 3 strands to pull through easily. Satin stitch is straight stitches laid side by side with no fabric showing between them. On a lemon that size, a single stitch across would be too long. Draw a line down the middle lengthwise and fill each half separately, slanting the stitches and keeping each one under 10 mm (3/8 inch). Longer ones snag every time the pouch goes in and out of a bag.
Work the leaves the same way in 2 strands of green, slanting the stitches toward a center vein. Around 60 minutes.
Tiny brooch cut from a stitched motif
 Save
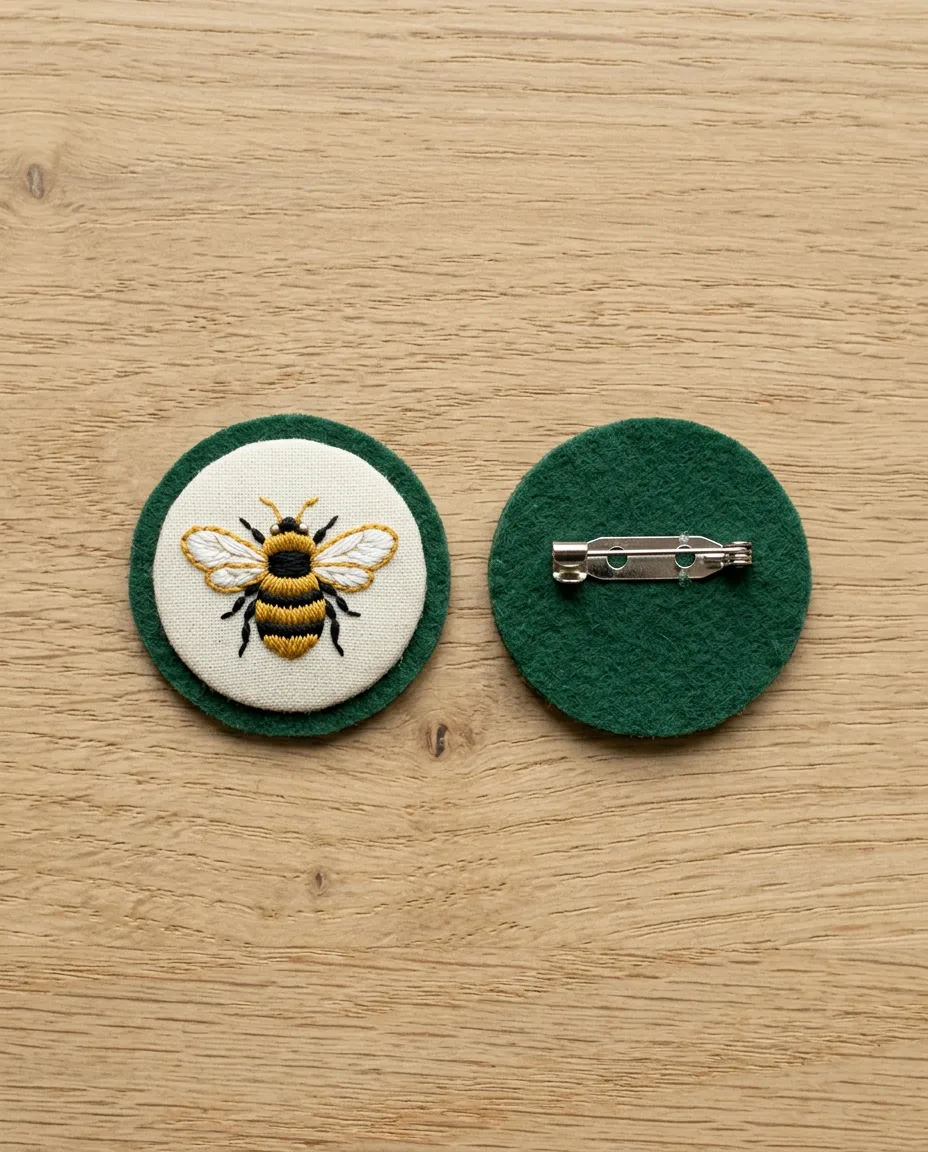
SaveStitch a 1 inch motif on cotton stretched in a 4 inch hoop. Two strands on a size 7 needle keep the detail crisp at that size. Pack the stitches densely. A single flower works, and so does a small satin stitch bee from the bee tutorial.
Cut it out with a 3 mm margin all round. Run a thin line of fabric glue around the cut edge to stop fraying, and let it dry. Glue the patch onto felt, then trim the felt to leave a rim about 3 mm wide all round. A second felt layer on the back holds a 1 inch brooch pin, glued or stitched on. Budget 30 minutes of drying time inside your two hours. Wet glue ruins a pin that gets packed too early.
Stitched paper card
 Save
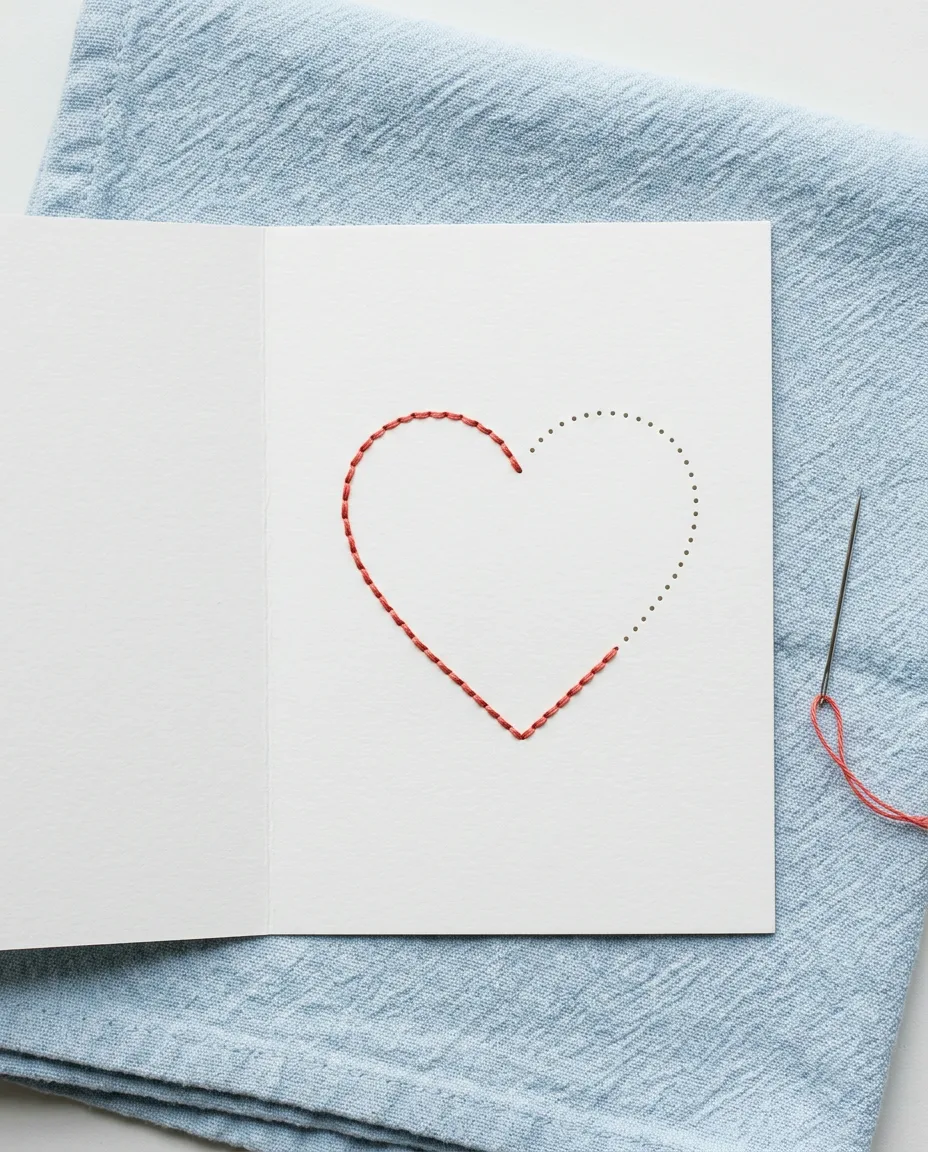
SavePaper can’t be hooped, and it can’t be forgiven. Every hole is permanent. Use a folded blank card of heavy card stock, about 110 lb cover weight, and pencil a simple heart or flower lightly on the front.
Open the card face up on a folded towel. Pierce every hole first with a pin, about 4 mm apart along the lines. Then backstitch through them with 3 strands, using the size 5 needle and pulling just until the thread lies flat. Any harder and the paper splits between holes.
Tape the thread ends inside the card. Glue a second plain sheet over the inside of the front to cover the back of the stitching and give room to write. Thirty minutes, most of it spent piercing.